Last Updated: December 08 2025
Overview
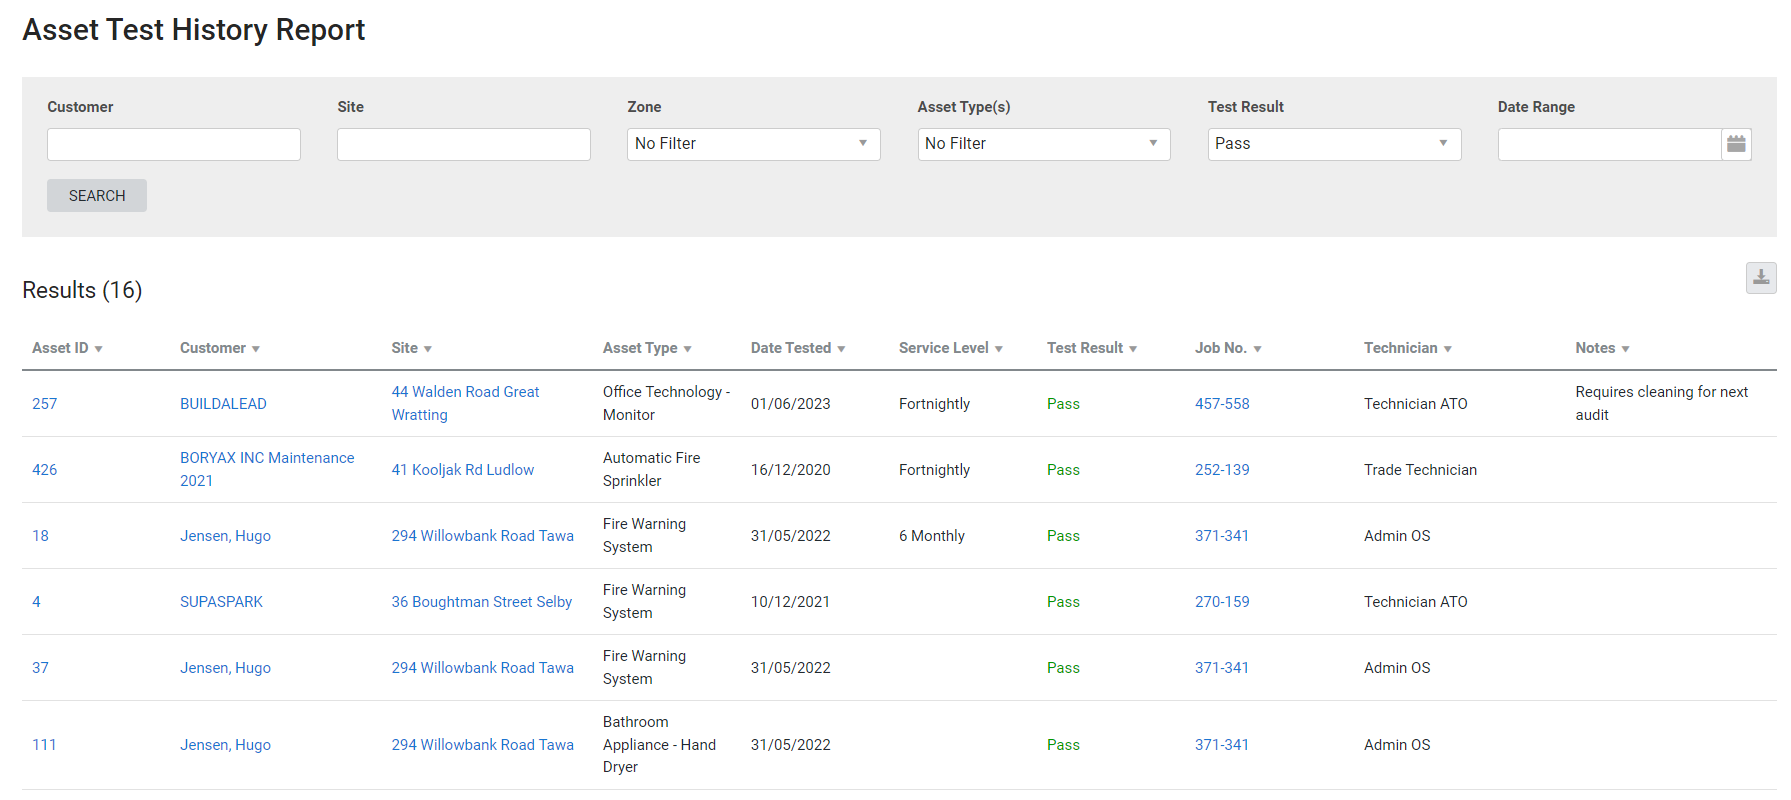
This report displays test results for your customer assets, and can be narrowed down using specific filters.
You can then narrow down the test results using specific filters.
Learn more in How to Test Assets.
 Required setup
In order to view content or perform actions referred to in this article you need to have the appropriate permissions enabled in your security group. Go to System![]() > Setup > Security Groups and access your security group to update your permissions. The relevant security group tab and specific permissions for this article can be found here:
> Setup > Security Groups and access your security group to update your permissions. The relevant security group tab and specific permissions for this article can be found here:
 Filters
You can use the following filters in the report:
| Customer | Search for a specific customer to view assets tested for that customer. |
| Site | Search for a specific site to view assets belonging to that site. |
| Zone | Select a zone to view assets belonging to sites with the assigned zone. |
| Asset Type(s) | Select an asset type to view assets belonging to that type. |
| Test Result |
Select:
|
| Date Range | Select a date range to view assets tested on jobs scheduled within that date range. |
 Columns
The following columns are displayed in the report:
| Asset ID | The ID number of the asset, generated in Simpro Premium. |
| Customer | The customer the asset belongs to. Click to open the customer card file. |
| Site | The site where the asset is located. Click to open the site card file. |
| Asset Type | The type of asset. |
| Date Tested | The date when the asset was tested. |
| Service Level | The service level the asset was tested for. |
| Test Result | The result of the test. If the asset was not tested for this job, the result is No Test. |
| Job No. | The job number the asset test is associated with. Click to open the job card for the employee who performed the test. |
| Technician | The employee who performed the test. |
| Notes | Any notes entered by the technician. |
 Download the report as a CSV file
You can download the information in the report as a spreadsheet in CSV format, viewable in Microsoft Excel and other spreadsheet software.
To download the report:
- Generate the report as required.
- Click the
 icon in the top right, then click CSV.
 - View, print or save the CSV, as required.
