Last Updated: December 12 2025
Overview
Before you create a pre-build, you need to create pre-build groups to organise your pre-builds and make them easier to locate.
Within pre-build groups, you can create three levels of subgroups to help categorise your pre-builds.
To create pre-builds, see How to Create a Pre-Build.
 Create a pre-build group
To create a pre-build group:
- Go to Materials
 > Pre-Builds.
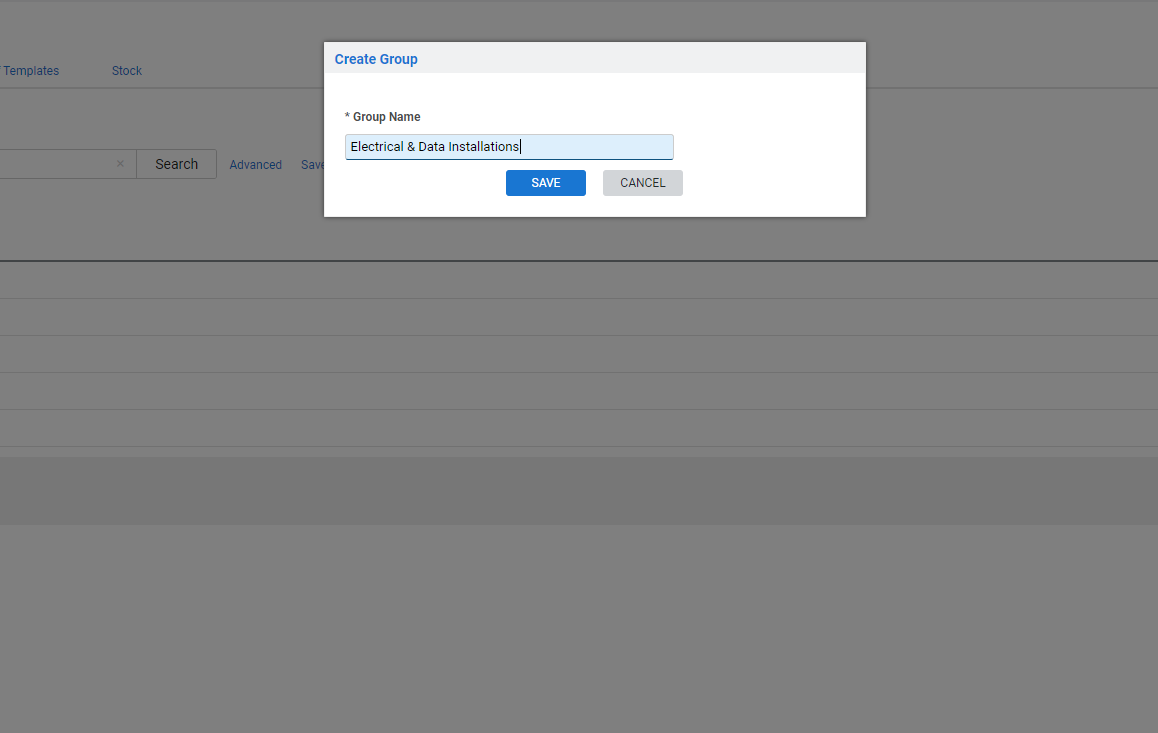
 - Click Create Group.
- Enter a Group Name.
- Click Save.
After creating a group, you can also create up to three levels of subgroups by opening the group and clicking Create Subgroup.
Use the drag handles to arrange groups and subgroups as required.
Note that you can select Favourites Only to display only the pre-builds that are marked Favourite under Attributes. Alternatively, all pre-builds including the favourites appear in the list. Learn more in Create a pre-build.
 Delete a pre-build group or subgroup
To delete a group or subgroup:
- Go to Materials
 > Pre-Builds.
 - Navigate to the group or subgroup you wish to delete. Do not open it.
- On the group or subgroup, click Options > Delete Group / Subgroup.
- Click OK to confirm.
To delete multiple groups:
- Go to Materials
 > Pre-Builds.
 - Navigate to the groups you wish to delete. Do not open them.
- Select the check boxes of the groups to delete, or click Select All at the bottom of the page.
- Click Delete at the bottom of the page.
- Click OK to confirm.
Deleting a pre-build group or subgroup also deletes or archives all the pre-builds it contains. Pre-builds are archived if they have history.
