Last Updated: December 15 2025
Overview
Create fit time multipliers to assist in estimating the amount of additional labour required for a catalogue or pre-build item added to a job.
For example, you can assign a labour fit time multiplier to a job if you to need extend the default fit time for a catalogue item or pre-build due to circumstances such as small ceiling space, or concrete walls instead of plasterboard walls.
 Required setup
In order to view content or perform actions referred to in this article you need to have the appropriate permissions enabled in your security group. Go to System![]() > Setup > Security Groups and access your security group to update your permissions. The relevant security group tab and specific permissions for this article can be found here:
> Setup > Security Groups and access your security group to update your permissions. The relevant security group tab and specific permissions for this article can be found here:
 Create a labour fit time
To create a labour fit time:
- Go to System
 > Setup > System Setup > Labour > Labour Fit Times.
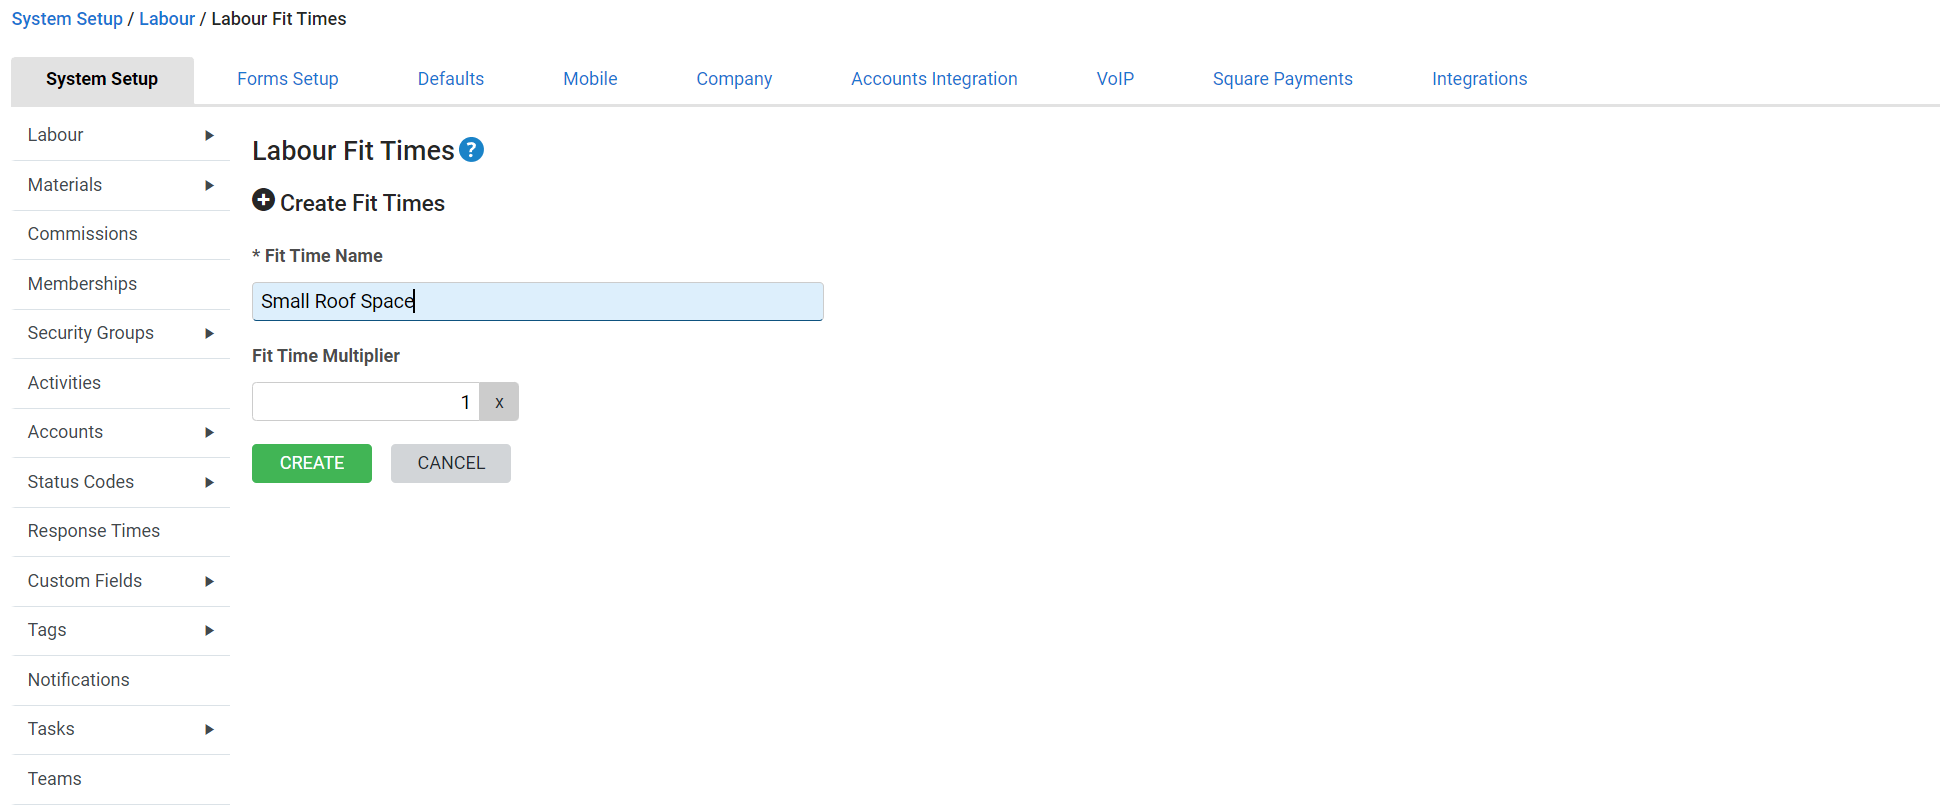
 - Click Create Fit Time.
- Enter a Fit Time Name.
- Enter the Fit Time Multiplier.
- This multiplies the amount of Time billed for the item it is assigned to.
- Click Create.
Use the drag handles to arrange labour fit times as required.
 Edit a labour fit time
To edit a labour fit time:
- Go to System
 > Setup > System Setup > Labour > Labour Fit Times.
 - Click the labour fit time you wish to edit.
- Make changes as required.
- Click Save.
 Delete a labour fit time
To delete a single labour fit time:
- Go to System
 > Setup > System Setup > Labour > Labour Fit Times.
 - On the labour fit time you wish to delete, click the
 icon.
icon. - Click OK.
To delete multiple labour fit times at once, select the labour fit times you wish to delete, or select Select All, then click Delete > OK.
 Assign a labour fit time to a job or quote
To assign a labour fit time to a job or quote:
- Create a job as normal or edit an existing job.
- Click Parts & Labour.
- Add a catalogue item or pre-build as normal.
- Click Fit Time in the Time column of the item / pre-build.
- Select the Fit Time.
- The estimated time of the job automatically updates.
- Click Save and Finish to update your changes.
Learn more in How to Create a Service Job.

