Last Updated: April 15 2024
How to manage groups
Overview
Create groups within a specific department to organise users and ensure forms are assigned to the correct people. Groups could represent employees that have a specific skill set, certain responsibilities, specific teams, or a group of users who operate in a specific location. Any time a new user is added to a user group they are automatically assigned any forms assigned to that group. When creating and organising your groups it is good to remember that employees can belong to multiple groups.
You can assign groups to a form when it is published, or from the form settings. Learn more in How to Manage Digital Forms.
Reference data CSV files can be divided among user groups. Learn more in How to Use Reference Data and Images.
 Manage Groups
Groups are created in individual departments. They do not exist across departments.
To create a group and assign members and forms:
- Click Departments > Groups > Create Group.
- Enter a Name to identify the group.
- Enter a Description of the group as required.
- Click Save.
- Click Manage Members to decide who is assigned to the group.
- Click to filter users by existing groups.
- Select users.
- Select whether to Send notification to user if they have new forms.
- Click Save.
- Click Manage Forms to assign forms and make them accessible to members of this group.
- Select form folders or published forms.
- Select whether to Send notification to user if they have new forms.
- Click Save and click Groups to return to the list of groups.
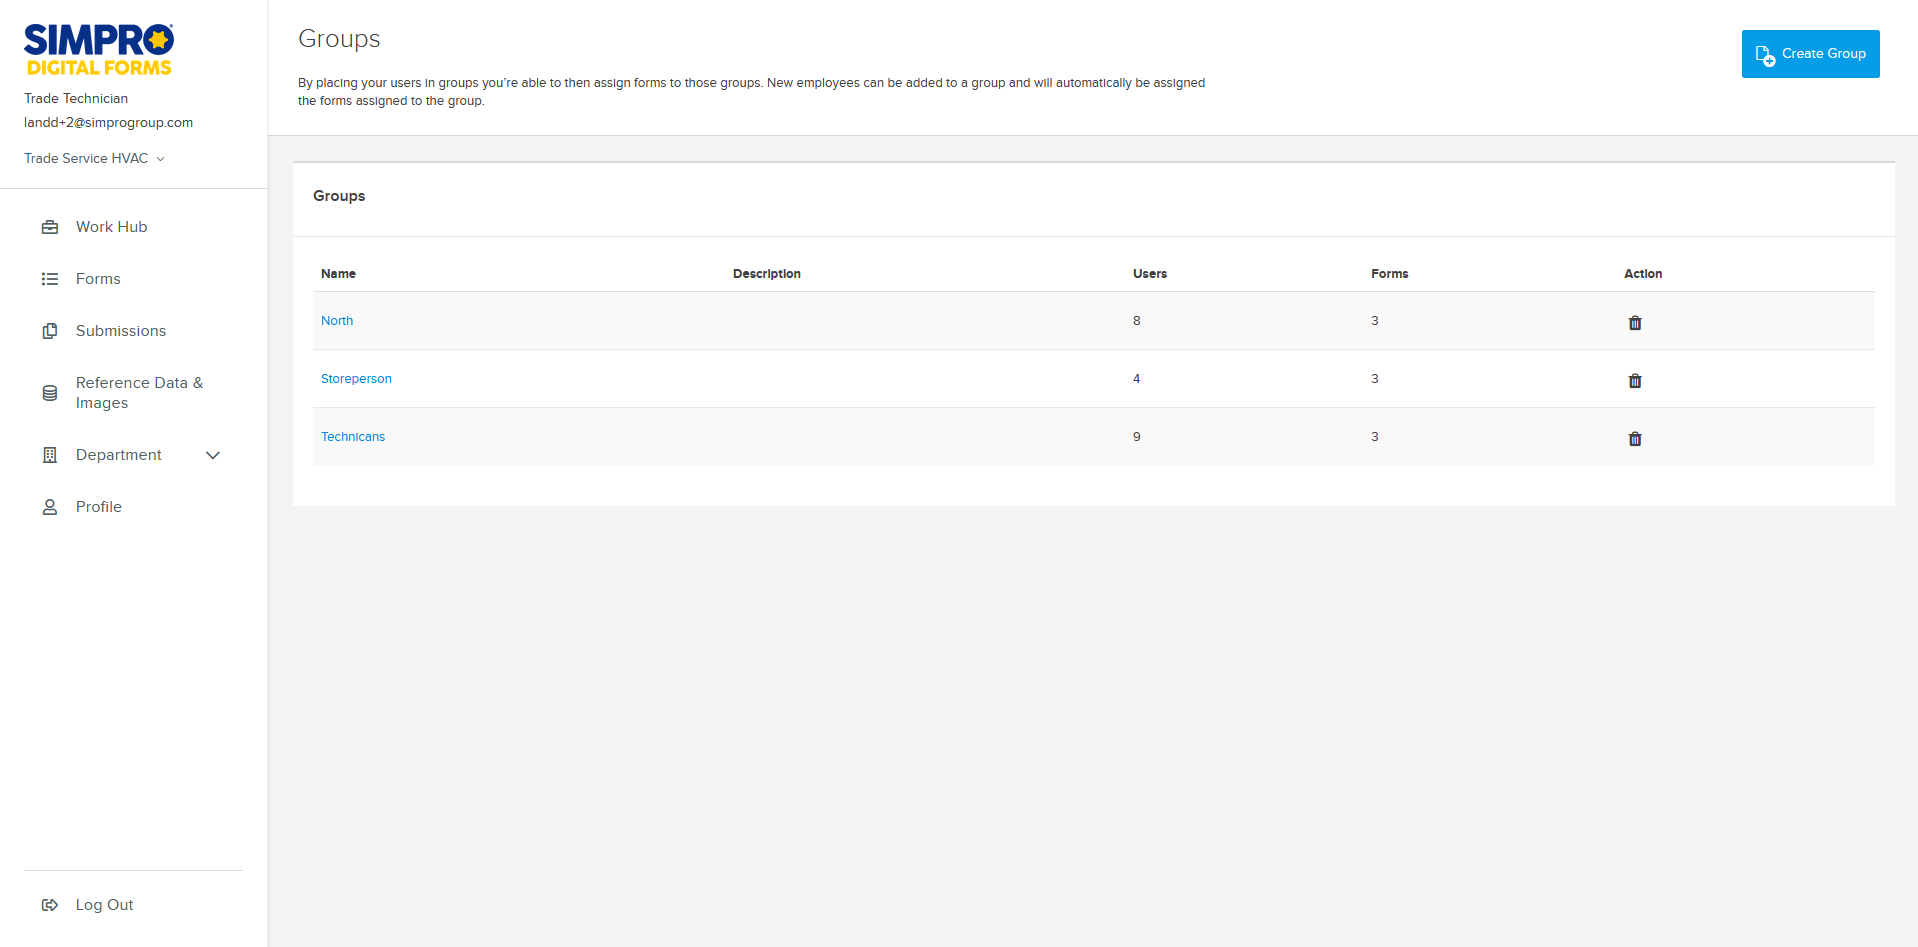
From the Groups page you can click on a group to Manage Members to assign users to the group or Manage Forms to assign forms that these users can access.
Click ![]() to delete a group.
to delete a group.
