Last Updated: December 15 2025
Overview
Connect eForms to Simpro Premium to integrate your forms with Simpro Premium data.
You can then export completed forms from the eForms portal to Simpro Premium. And, attach these forms to the applicable jobs and quotes, as well as set up form templates with Simpro Premium-integrated fields, so that the forms automatically populate with Simpro Premium data when completed in the eForms app.
 Integrate eForms with Simpro Premium
Simpro Premium uses APIs that collect JavaScript Object Notation (JSON) data to integrate with eForms. To allow eForms to connect with Simpro Premium, you need to authorise eForms to access your Simpro Premium account.
To integrate eForms with Simpro Premium:
- Go to System
 > Setup > Extensions.
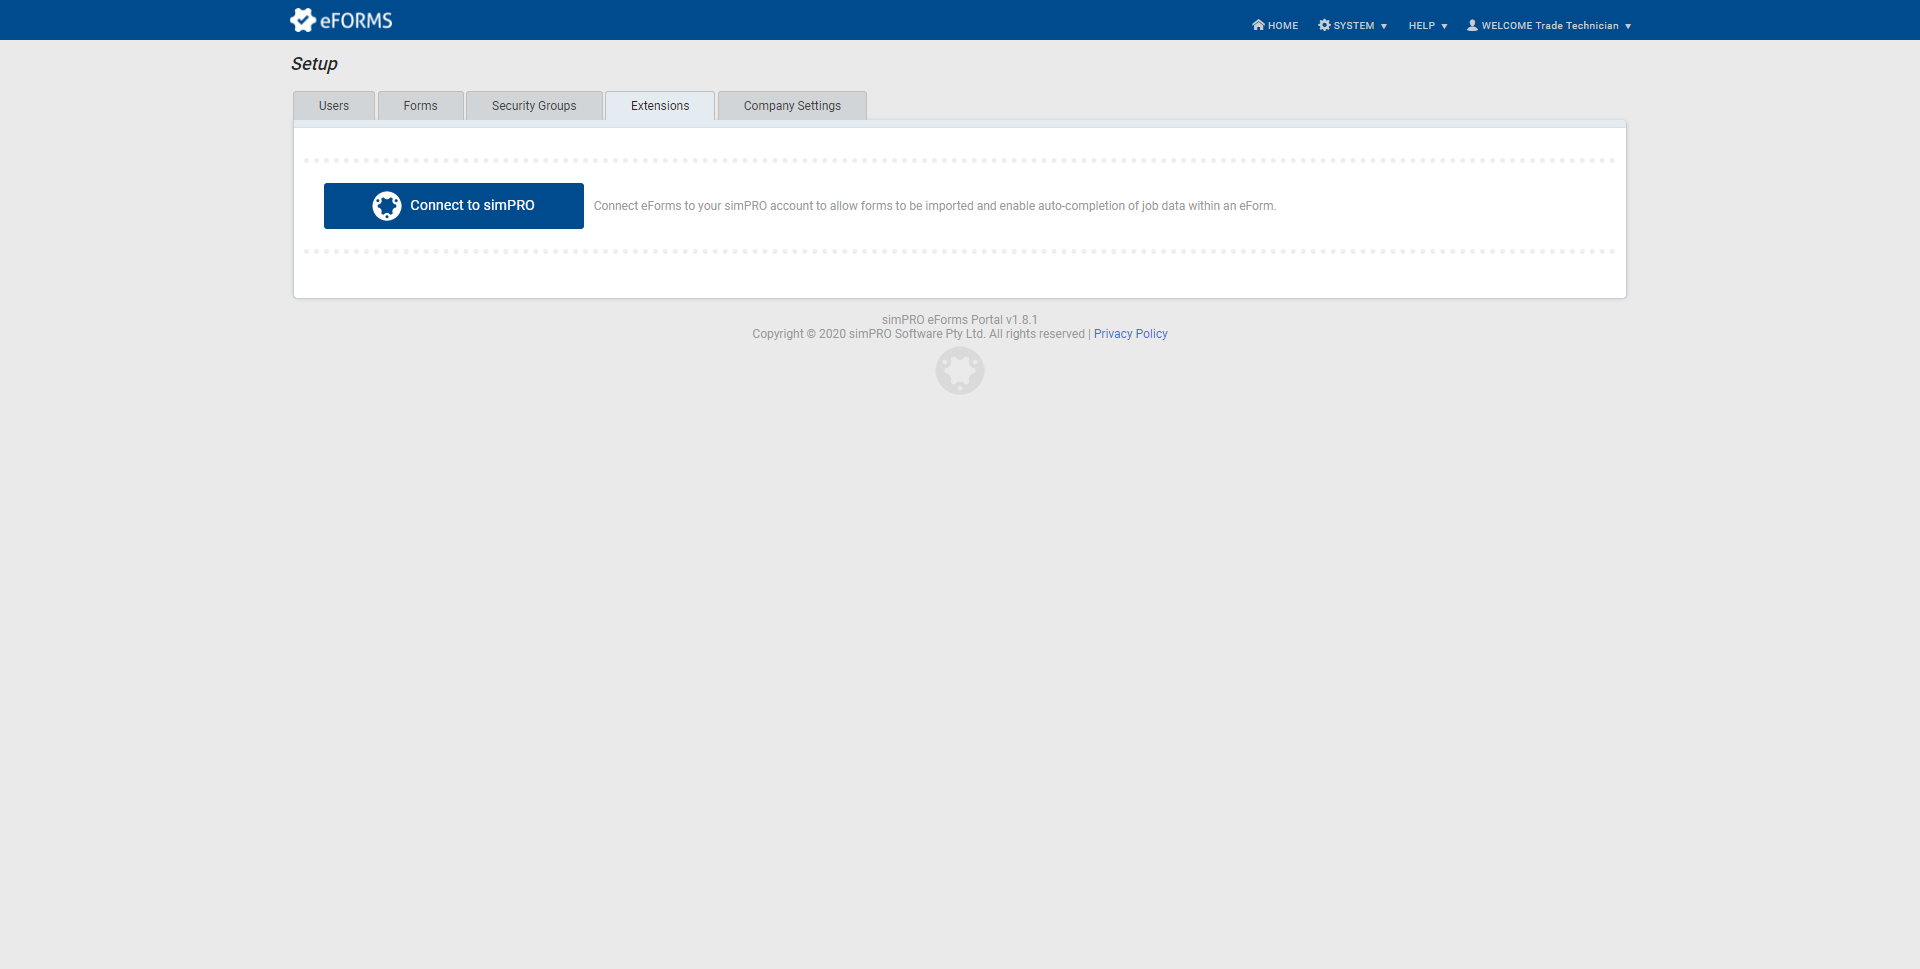
 - Click Connect to Simpro Premium.
- If you are not currently logged in to your Simpro Premium account, enter your Username and Password, then click Login.
- Click Authorise.
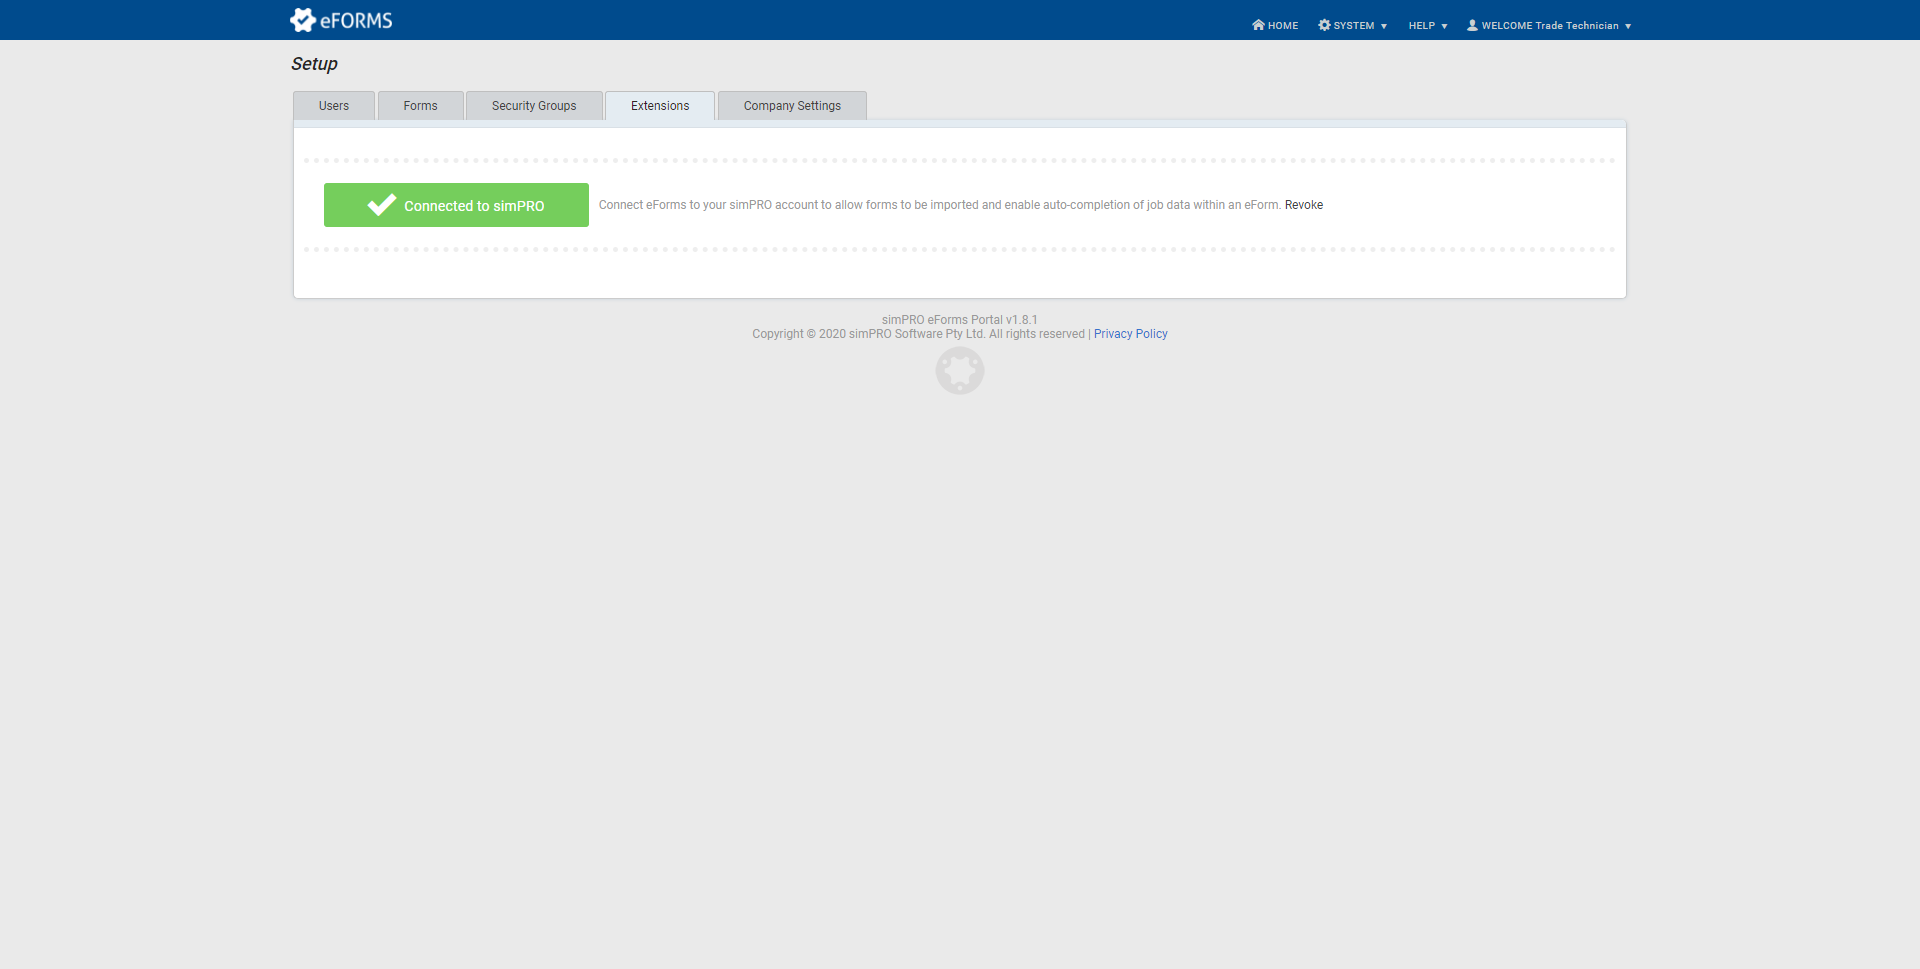
eForms is then integrated with Simpro Premium.
To cancel the connection between eForms and Simpro Premium, go to System![]() > Setup > Extensions and click Revoke.
> Setup > Extensions and click Revoke.
 Link Simpro Premium and eForms employees
You can auto-populate Simpro Premium employee details on your eForms forms by linking your Simpro Premium and eForms employees.
- Go to System
 > Setup > Users.
 - Create a new user, or edit an existing one.
- Under Link to Simpro Premium Employee, enter the employee's name as it appears in your Simpro Premium build and select it from the drop-down options.
- Click Submit User Changes.
When designing a form, add a Text field that auto-populates any of the following details:
- Employee Name
- Employee First Name
- Employee Email
- Employee Phone
- Employee custom fields
When an employee opens this form in the eForms app, their Simpro Premium employee details are already populated.
 Create a Simpro Premium-integrated form template
If you have integrated eForms with your Simpro Premium build, create Simpro Premium-integrated form templates with fields that are set up to automatically populate with Simpro Premium data when you enter the job / quote number in a form in the eForms app. Learn more in How to Integrate eForms with Simpro Premium.
To create a Simpro Premium-integrated form template:
- Go to the Templates tab.
- Click Create Form.
- Enter an identifiable Form Name, then click Next.
- You can only enter alphanumeric characters, spaces, and underscores in the form name.
- Read the terms and conditions of legal indemnity, then select I Agree to continue creating the template.
- If you do not select I Agree, you cannot create the form template.
- Click Upload Background, then locate and open the file.
- The form background needs to be in a JPEG, PNG, GIF, or PDF format, with a minimum image resolution of 850px and must fit within the standard A4 dimensions. Note that some PDF creators export outside these dimensions.
- You may wish to create your form background in a Microsoft Word document and format the required body of the form using columns and headers to indicate the information required to be completed in the form. You can then save the Word document as a PDF to upload in the eForms Designer.
- Adjust email and review settings as required.
- Under Settings, toggle on Enable Rulers & Guides to help align elements on the template. Click and drag the rules to create guides, and when you place an element near a guide, the element snaps to it. Click the
 icon to:
- Hide rulers
- Hide guides
- Hide rulers and guides
- Lock rulers
- Clear all guides
- Hide page breaks
- Change scale to millimetres
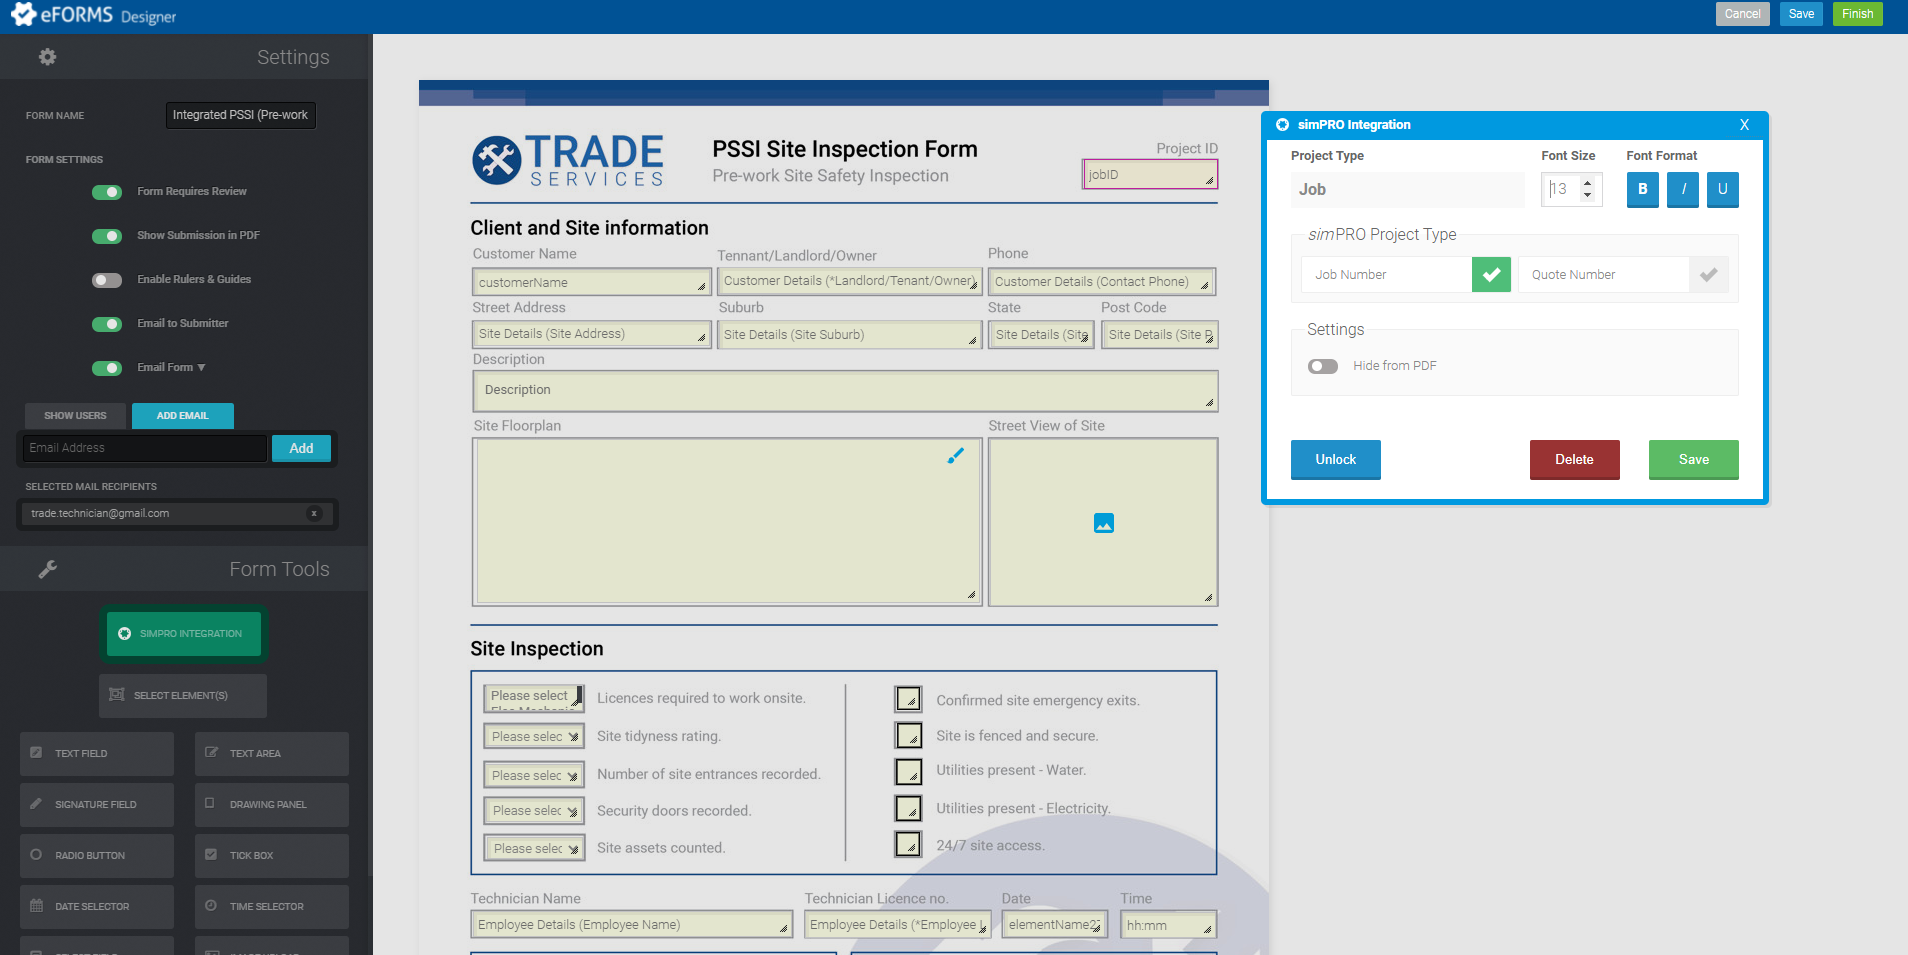
- Click SIMPRO INTEGRATION, then click and drag your cursor across the area of the form background where you wish to capture the Simpro Premium job or quote number when a technician completes the form in the eForms app.
- Under Simpro Premium Auto-Population, select to retrieve Simpro Premium data using the Job Number or Quote Number that a technician enters when completing the form.
- This automatically defines the Element Name.
- Select the Font Size and Font Format of text entered in the field, or alternatively, select Hide from PDF to hide the job or quote number when the form displays as a PDF.
- Click Save. The SIMPRO INTEGRATION button is now green and enabled for the Text Field and Text Area fields.
- Below the SIMPRO INTEGRATION button, click a field type, then click and drag your cursor across the area of the form background to add it to the template.
- Enter an Element Name to identify the type of information to be entered in the field, for example, 'SiteNotes' or 'Comments'. You can only enter alphanumeric characters, square brackets, and underscores in the element name, with no punctuation or spaces.
- Under Settings, toggle on Required to make this a mandatory field for technicians to complete.
- Alternatively, if you have added a Text Field or Text Area field, select the type of Simpro Premium information you wish to use to automatically complete the field from the Auto-Population Field drop-down list, such as Customer Details, Site Details, Employee Details, or Company Details. This automatically defines the Element Name.
- Adjust the field's editing options as required. Learn more in Field types and editing options.
- Click and drag the
 icon in the bottom right corner of a field to resize it. The minimum size for a signature field is 100px by 40px.
 - Click Unlock to reposition the field using the
 icon. You can also reposition using the field using the arrows on your keyboard. To move the fields in smaller movements, press CTRL, then the arrows on your keyboard.
 - Click Clone to create a copy of the field directly below the original.
- Click Delete to remove the field from the template.
- Click and drag the
- Click Save as you complete each field type.
- Click Finish to save and complete the form and return to the eForms Portal.
When your technicians tap Update in their eForms app, the form template is available to select when they tap Start a New Form.


