Last Updated: December 15 2025
Overview
While a purchase order gives a committed cost to stock, quotes and jobs, receipting a purchase order finalises the actual cost of those items. You can create receipts for purchase orders to suit your workflow, depending on whether you want to create a receipt after receiving goods, create a receipt after receiving goods and a supplier invoice, or create a receipt before receiving goods.
Where a purchase order has been created as a catalogue order or a PO number, you can only create a receipt after catalogue items have been added to the order. To receipt these orders without manually adding the catalogue items, you can import a supplier invoice. You can also change the order type to a description as an alternative to using catalogue items.
Once you enter supplier invoice details into a receipt, Simpro Premium flags the invoice to be posted the next time you export to your accounting package. Ensure all item costs, freight, tax and totals match the supplier's invoice exactly.
US only: If you use Simpro Premium in the United States, the terms 'inventory' and 'inventory count' are used instead of 'stock', 'stock take', and 'in stock'.
US only: If you use Simpro Premium in the United States, the term 'vendor' is used instead of 'supplier'.
 Required setup
In order to view content or perform actions referred to in this article you need to have the appropriate permissions enabled in your security group. Go to System![]() > Setup > Security Groups and access your security group to update your permissions. The relevant security group tab and specific permissions for this article can be found here:
> Setup > Security Groups and access your security group to update your permissions. The relevant security group tab and specific permissions for this article can be found here:
 Receipt a purchase order
 Receipt a purchase order after receiving goods
To receipt a purchase order after receiving goods:
- Go to Materials
 > Purchase Orders.
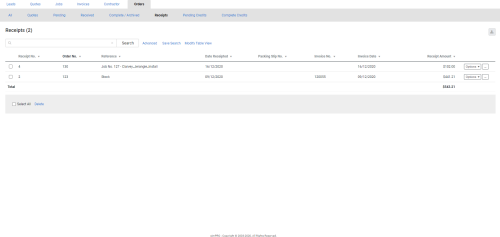
 - On the purchase order you wish to receipt, click Options > Create a Receipt.
- Alternatively, open the purchase order and click the Receipts sub-tab.
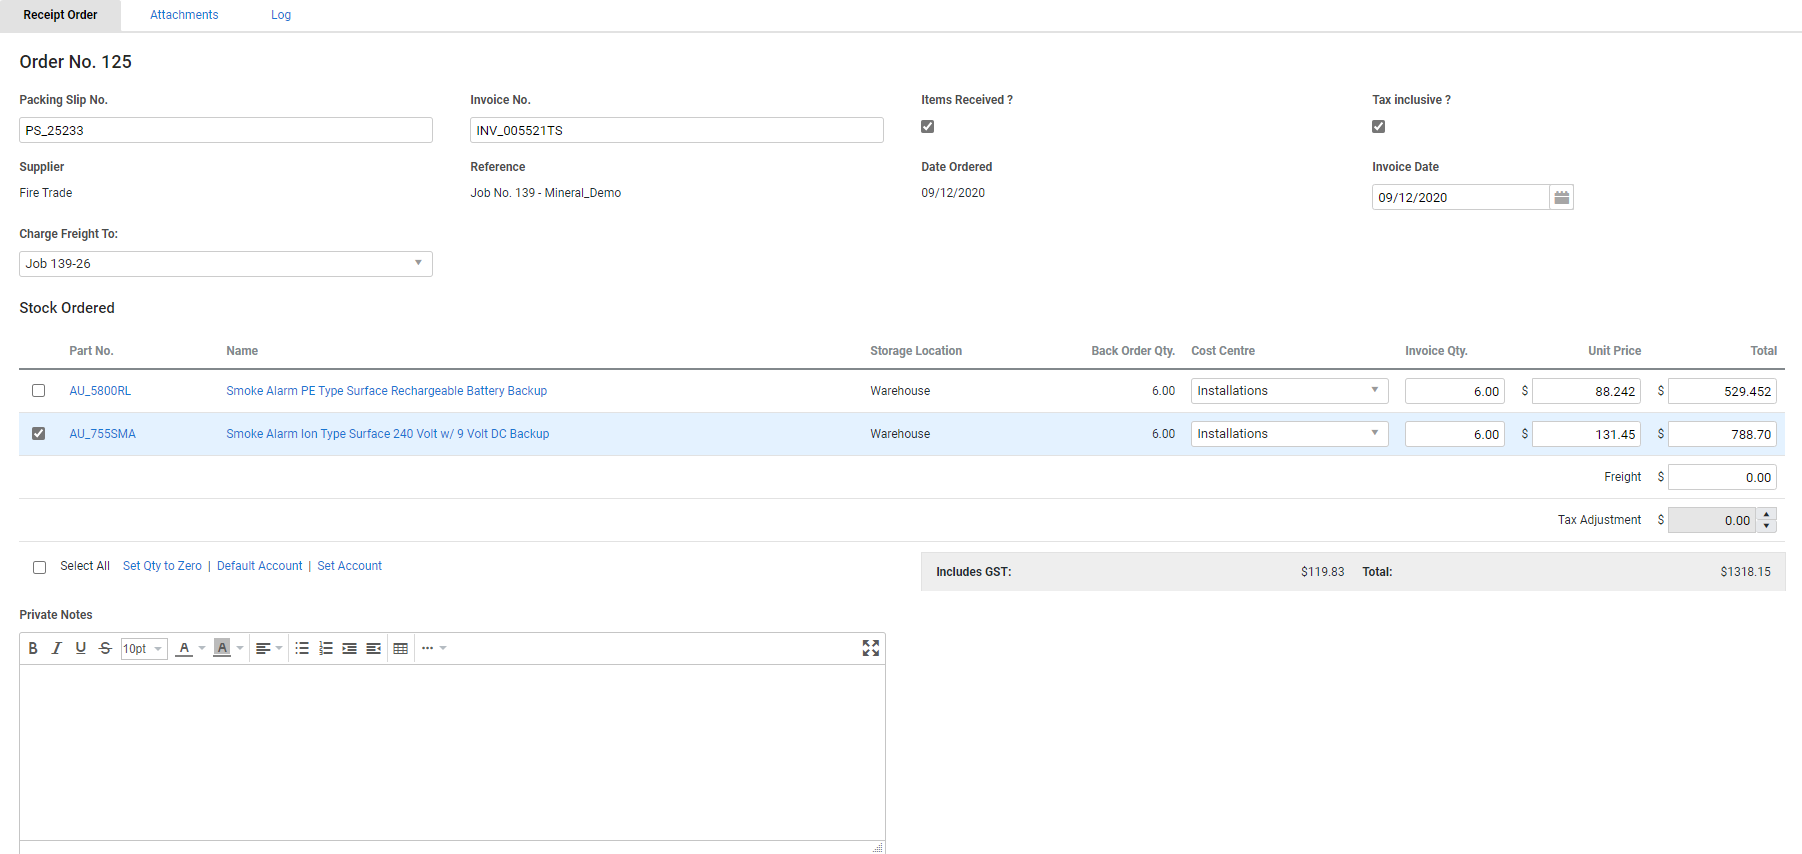
- Enter a Packing Slip No., ensure Items Received ? is selected, and adjust other details as required.
- If the supplier has provided Unit Prices inclusive of tax, select Tax Inclusive?. This helps ensure that the parts are invoiced for the correct value, however if the receipt is closed, the unit prices revert to be displayed exclusive of tax.
- Click Finish.
When you receive a supplier invoice for the goods, open this receipt under Materials ![]() > Receipts, click Unlock, enter an Invoice No., and edit the Cost Centres and Unit Prices as required.
> Receipts, click Unlock, enter an Invoice No., and edit the Cost Centres and Unit Prices as required.
 Receipt a purchase order after receiving goods and a supplier invoice
To receipt a purchase order after receiving a supplier invoice:
- Go to Materials
 > Purchase Orders.
 - On the purchase order you wish to receipt, click Options > Create a Receipt.
- Alternatively, open the purchase order and click the Receipts sub-tab.
- Enter the site's Invoice No., enter a Packing Slip No., ensure Items Received ? is selected, adjust items' Cost Centres and Unit Prices, and adjust other details as required.
- If the supplier has provided Unit Prices inclusive of tax, select Tax Inclusive?. This helps ensure that the parts are invoiced for the correct value, however if the receipt is closed, the unit prices revert to be displayed exclusive of tax.
- Click Finish.
 Receipt a purchase order before receiving goods
If you need to pay for goods in advance (such as for a prepaid purchase or a pro forma), you can receipt a purchase order before receiving the goods.
To receipt a purchase order in advance:
- Go to Materials
 > Purchase Orders.
 - On the purchase order you wish to receipt, click Options > Create a Receipt.
- Alternatively, open the purchase order and click the Receipts sub-tab.
- Enter the supplier's Invoice No., adjust items' Cost Centres and Unit Prices, clear the Items Received ? check box, and adjust other details as required.
- Clearing the Items Received ? check box and adding an invoice number puts the items In Transit. To view a list of which items are In Transit, go to Materials
 > Stock and open a storage device. Learn more in How to Manage Stock.
- Clearing the Items Received ? check box and adding an invoice number puts the items In Transit. To view a list of which items are In Transit, go to Materials
- If the supplier has provided Unit Prices inclusive of tax, select Tax Inclusive?. This helps ensure that the parts are invoiced for the correct value, however if the receipt is closed, the unit prices revert to be displayed exclusive of tax.
- Click Finish.
When you receive the goods, open this receipt under Materials ![]() > Receipts, click Unlock, select Items Received ?, and enter a Packing Slip No. as applicable.
> Receipts, click Unlock, select Items Received ?, and enter a Packing Slip No. as applicable.
 Advanced
 Select an item's cost centre
When receipting a purchase order, you can select a Cost Centre for each item to ensure their costs are posted to the correct account in your accounting package. For example, if you purchase a selection of wires to install on a job and order a tool at the same time, you may want to select a separate cost centre for the tool.
When Inventory Tracking is enabled, each inventory item has Inventory as the selected cost centre.
 Bulk set invoice quantities to zero
If you wish to receipt a purchase order, but you have only received quantities for one of the line items, you can set all other line item quantities to zero in bulk.
To bulk set invoice quantities to zero:
- Go to Materials
 > Purchase Orders.
 - On the purchase order you wish to receipt, click Options > Create a Receipt.
- Alternatively, open the purchase order and click the Receipts sub-tab.
- Under Stock Ordered, select the line items you do not wish to receipt, then click Set Qty to Zero.
- Alternatively, select Select All, then click Set Qty to Zero to set all invoice quantities to zero.
- Continue receipting the purchase order as normal.
 Enter a tax amount - US only
You can enter a tax amount when receipting a purchase order.
To use this feature you must first enter a Tax Account under System ![]() > Setup > Defaults > Financial.
> Setup > Defaults > Financial.
Also, you can select from all the cost centres on the job to specify on which cost centre is the Tax Charged To.
When creating or editing a receipt, enter an amount in the Tax field. The Tax: total at the bottom updates accordingly.
If the items already have taxes assigned to them, entering an amount in the Tax field adds to this value.
If you enter a Freight cost, the tax value needs to include tax on freight too.
 Print barcodes for receipted items
In the Receipt Order tab, select the check boxes for each item you want to print barcodes for. Then click Print Barcodes in the footer below the table. A PDF will open in a new tab, and the number of barcodes will reflect the quantity of items on the receipt. You can download or print the form as required.
 Walk Me Through
Need additional help?
Try Walk Me Through, our step-by-step guidance tool, to receipt purchase orders.
In Simpro Premium, go to Help ![]() > Walk Me Through and search Receipt a Purchase Order.
> Walk Me Through and search Receipt a Purchase Order.
Learn more in How to Use Walk Me Through in Simpro Premium.
 Learn more in the Learning Toolbox
For additional training, complete an interactive material in the Simpro's Learning Toolbox. Learn more in About Simpro's Learning Toolbox.


