Last Updated: December 15 2025
Overview
The purpose of a security group is to restrict or limit access to various functions within Simpro Premium based on a user's role in your organisation. For example, your accounts department might not necessarily require access to quotes or pre-builds, or you might wish to limit the value of quotes or purchase orders issued by a particular user or user group.
Security groups are defined in System ![]() > System Setup.
> System Setup.
 Required setup
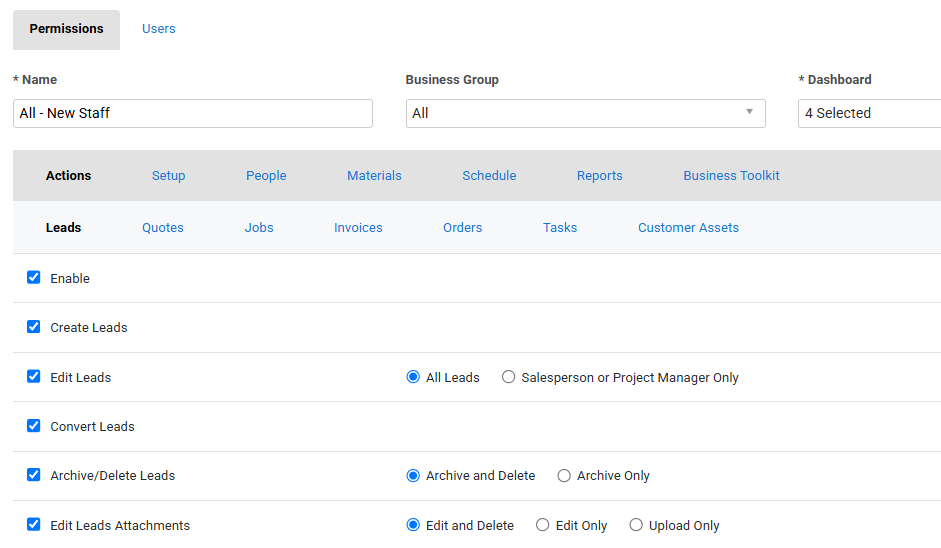
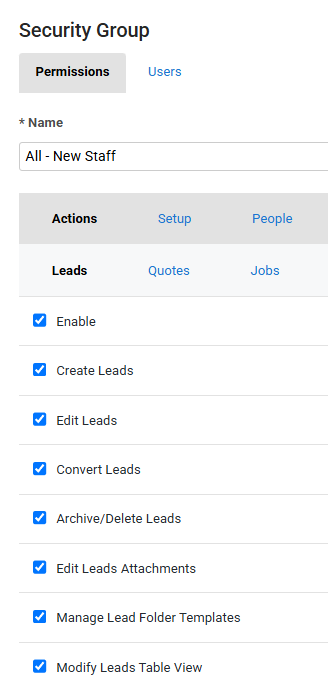
In order to view content or perform actions referred to in this article you need to have the appropriate permissions enabled in your security group. Go to System![]() > Setup > Security Groups and access your security group to update your permissions. The relevant security group tab and specific permissions for this article can be found here:
> Setup > Security Groups and access your security group to update your permissions. The relevant security group tab and specific permissions for this article can be found here:
Note that users need to request the access from their Manager or Admin user. Alternatively, they need to contact support to enable this permission.
 Create a security group
To create a security group:
- Go to System
 > Setup > System Setup > Security Groups.
 - Click Create Security Group.
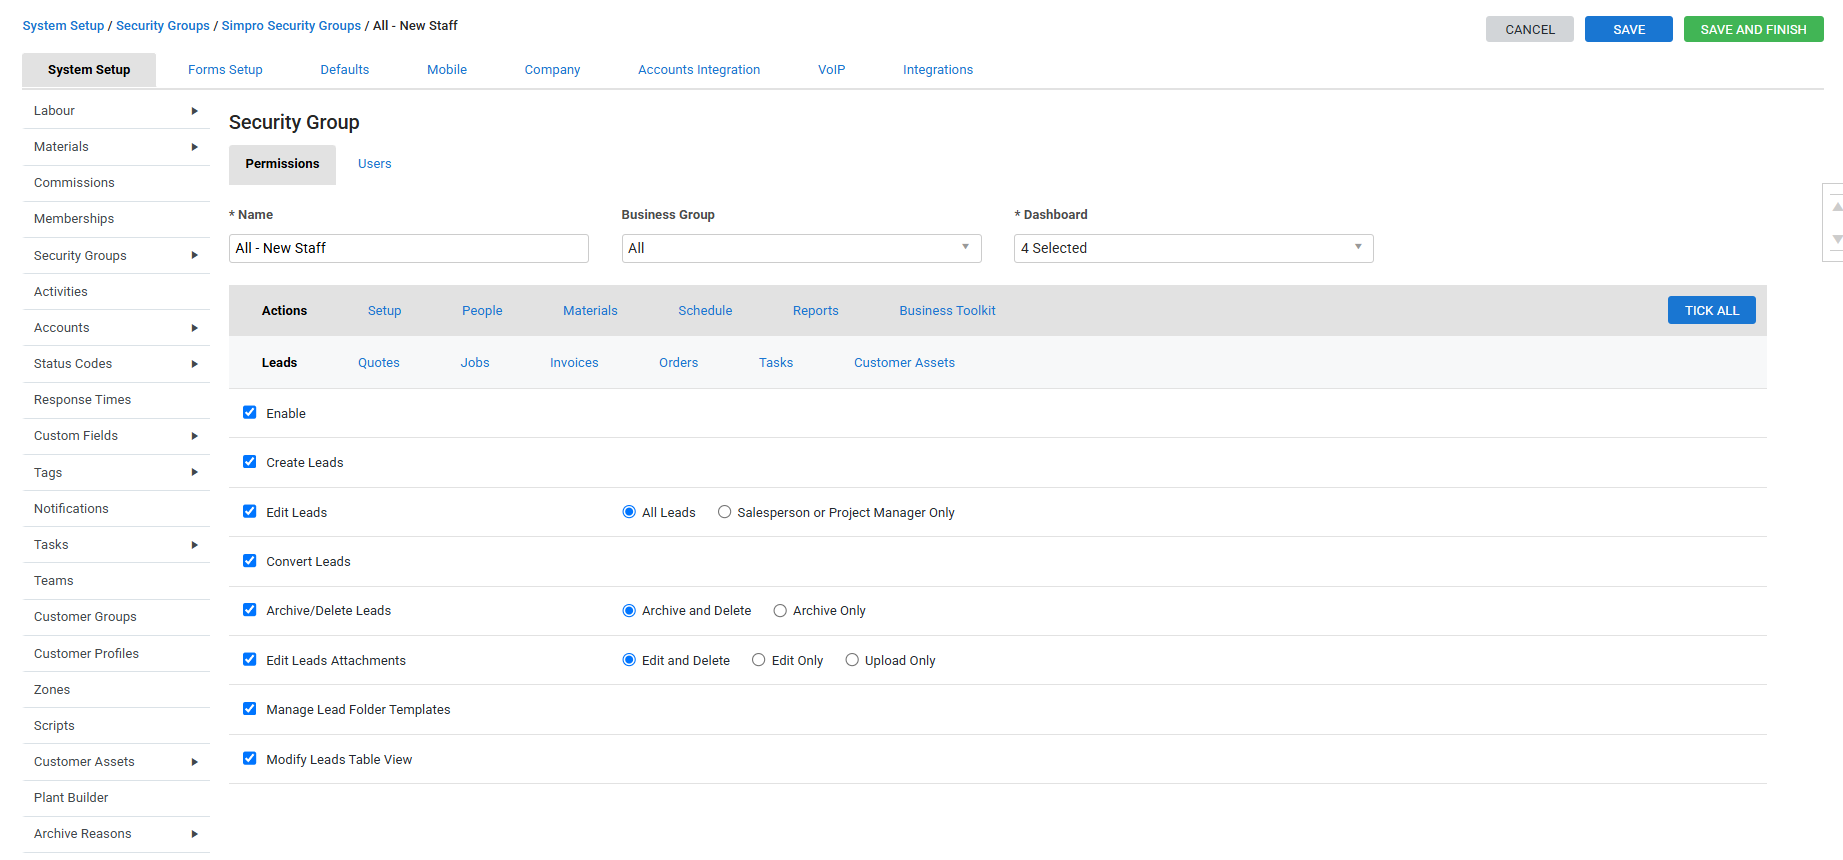
- Enter a descriptive Name.
- Select a Business Group from the drop-down list (this only appears if you have already set up business groups).
- Select a dashboard view from the Dashboard drop-down list. To learn about the different dashboard views, see Dashboard views.
- Under Permissions, click the tabs and sub-tabs to view the relevant permissions.
- To enable access to a function, select its check box. To restrict access to a function, clear the check box.
- Click Tick All to enable access to all areas of Simpro Premium.
- Click Save and Finish.
On the System Setup > Security Group page, leave the All security group intact as you need at least one group with access to all areas.
 Enable hierarchy
If the Enable Hierarchy check box is selected in security group settings, you can rearrange security groups as per the hierarchy followed in your organisation.
This means the users can only assign a security group to an employee or a contractor card who is at or below the same security group level as theirs. They can view but not edit (it is greyed out) the Settings > Account Setup section of an employee or a contractor card with a higher security group level than theirs. The edit option is only available when a user has access to edit employees and / or contractors.
Users are able to apply a higher security group to another user if access to edit security groups is selected.
To enable hierarchy:
- Go to System
 > Setup > System Setup > Security Groups.
 - Select the Enable Hierarchy check box.
- Use the drag handles to rearrange security groups into the required order.
If the Enable Hierarchy check box is cleared, security groups are arranged in alphabetical order.
 Assign a security group
You can assign security groups to employees or contractors so when they log in to Simpro Premium, they can only access and use the functions you have enabled.
To assign a security group in people card files:
- Go to People
 > Employees / Contractors.
 - Click an employee or contractor.
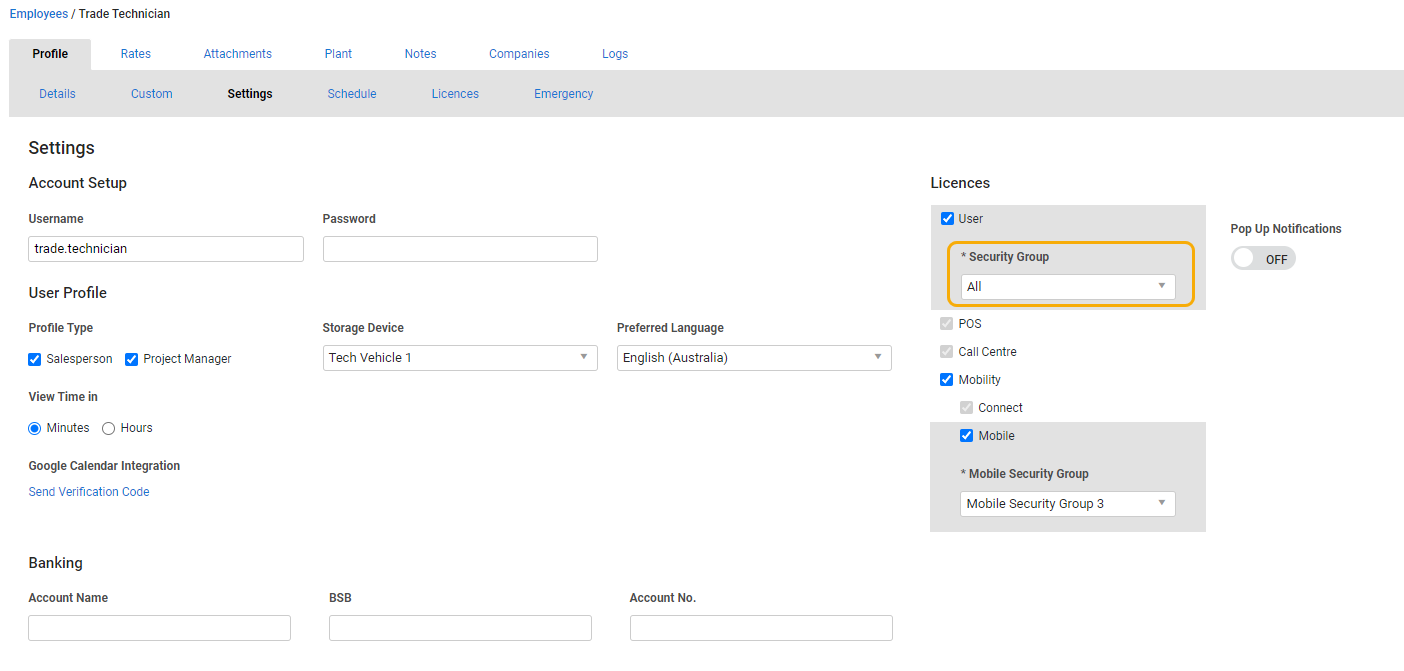
- Go to Profile > Settings.
- Select a Security Group from the drop-down list.
- Click Save and Finish.
To assign a security group in System Setup:
- Go to System
 > Setup > System Setup > Security Groups.
 - Open a security group and click the Users tab.
- Under Available resources, locate or search for a user, then click the + to assign to the security group.
- Click Save and Finish.
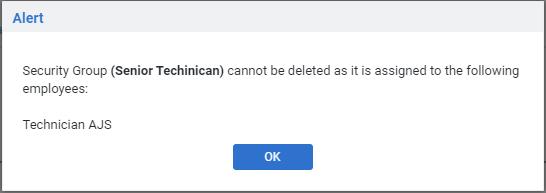
Remove users from security groups under Assigned Resources by using the - icon next to the employee.
 Copy security groups
You can quickly set up new security groups with existing permissions by copying existing security groups and using them as a template to create similar security groups.
- Go to System
 > Setup > System Setup > Security Groups.
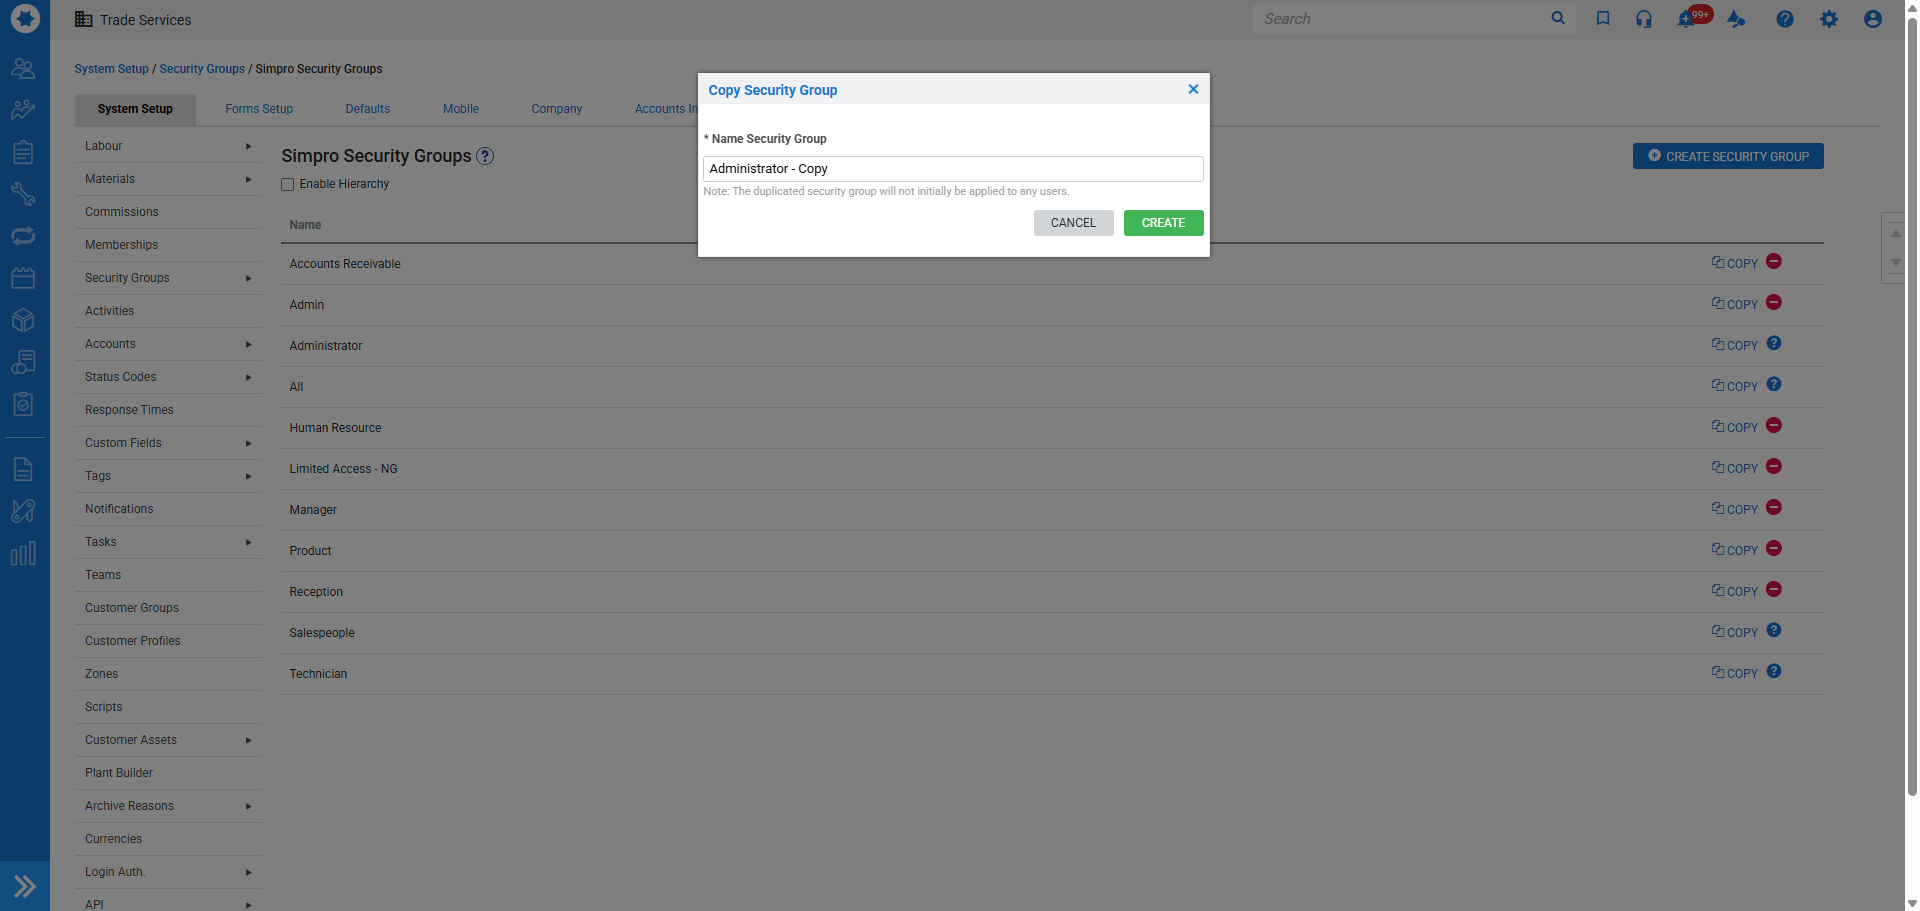
 - Click Copy on a security group.
- Rename the security group and click Create.
- Edit the permissions.
- Click Save and Finish.
 Advanced
 Modify table view
If users have security group permission to access the Modify Table View option on most tables, they can change the table view of leads, quotes, jobs, orders, etc.
As these changes modify the table view for every user, it is recommended to restrict most users from having Modify Table View access.
To change access, go to System ![]() > Setup > System Setup > Security Groups and select or clear the Modify Table View option as needed.
> Setup > System Setup > Security Groups and select or clear the Modify Table View option as needed.
 Manage employee account setup
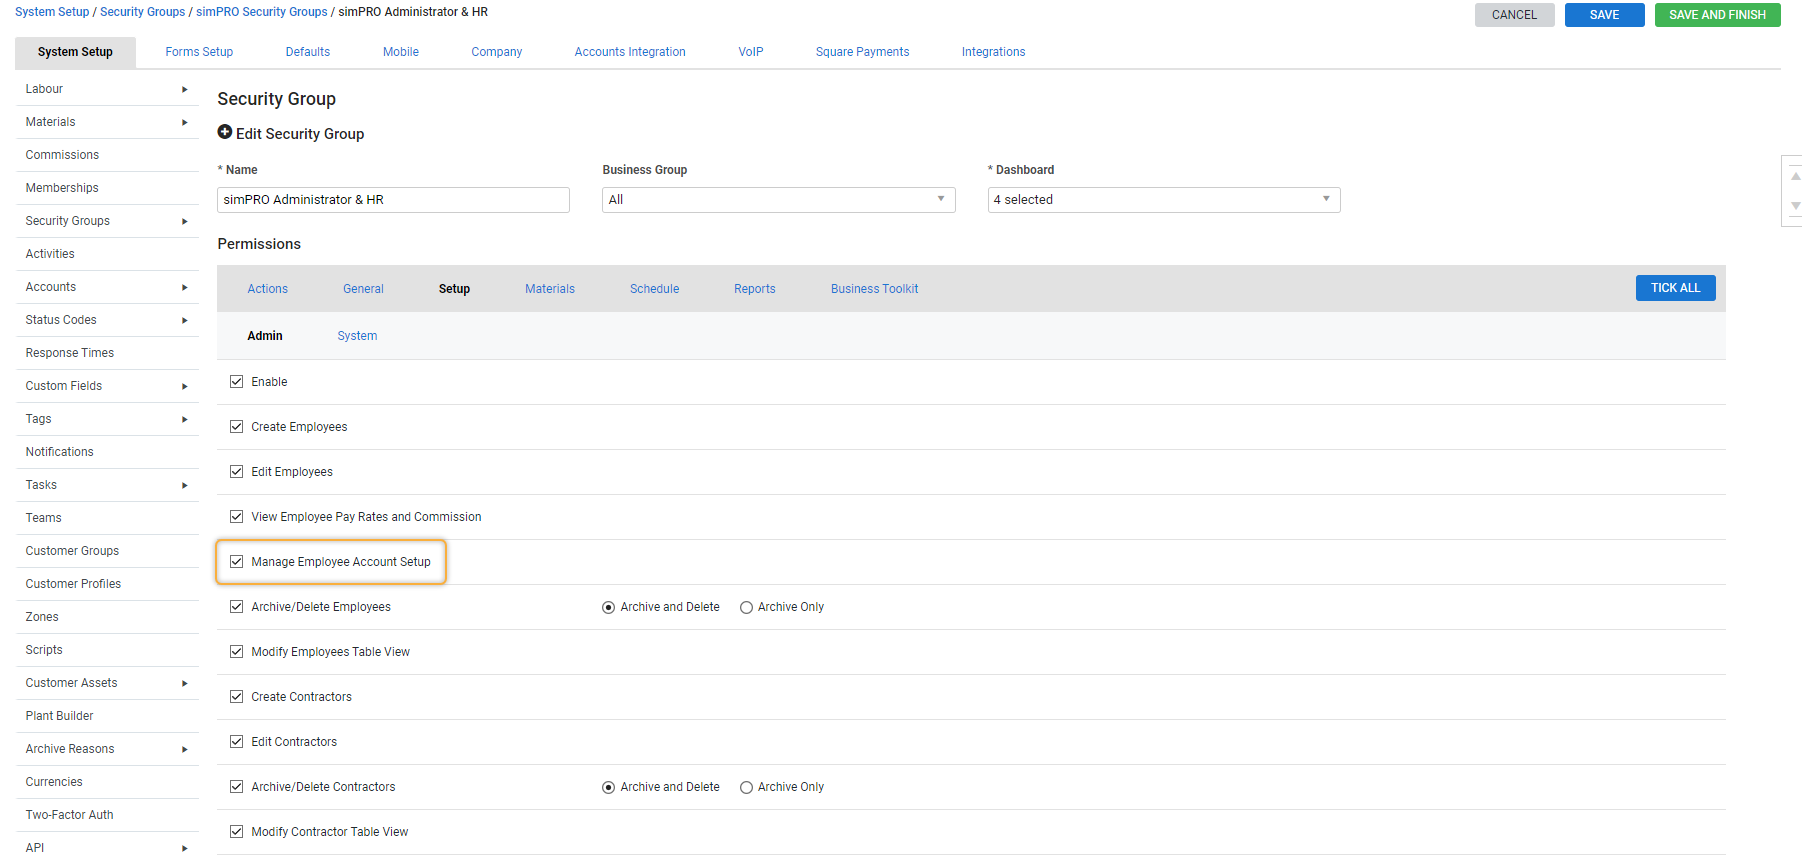
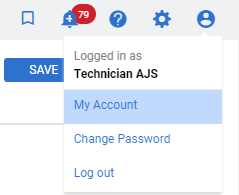
The Manage Employee Account Setup option enables access to the Account Setup section in the Settings tab of an employee card, a contractor card, and My Account.
To enable:
- Go to System
 > Setup > System Setup > Security Groups.
 - Select the security group you wish to edit.
- Click the Setup tab.
- Select the Manage Employee Account Setup check box in the Admin tab.
- Click Save and Finish.
Users can view but not edit the Employee Account Setup section if they have no access to this option.
 Walk Me Through
Need additional help?
Try Walk Me Through, our step-by-step guidance tool, to set up security groups.
In Simpro Premium, go to Help ![]() > Walk Me Through and search Security Group.
> Walk Me Through and search Security Group.
Learn more in How to Use Walk Me Through in Simpro Premium.
