Last Updated: December 15 2025
Overview
Leads, quotes, jobs, invoices, and purchase orders have status codes according to their position in your workflow. The system has predefined trigger points, and as you perform certain actions - such as emailing a quote - you pass one of these trigger points, triggering a change in the quote's status code and colour. You can visually see your projects progressing as they are updated by technicians in the field and office staff.
These automatic triggers cover a range of actions, and can be found under System ![]() > Setup > System Setup > Status Codes > Automatic Triggers.
> Setup > System Setup > Status Codes > Automatic Triggers.
For each trigger, a status code is assigned. Status codes provide a more detailed breakdown of your workflow than stages, which are limited to 'pending', 'progress', 'complete' etc. For example, if a trigger is 'A quote has been emailed or printed', you could assign the status code 'Quote: Sent to Client'. This means that when you email a quote, it automatically updates the quote's status code to 'Quote: Sent to Client', also updating the colour accordingly.
You can create and customise status codes to suit your workflow through System ![]() > Setup > System Setup > Status Codes, then assign them to automatic triggers.
> Setup > System Setup > Status Codes, then assign them to automatic triggers.
Status code colours display when:
- scheduling (if Job Status is selected in System
 > Setup > Defaults > Schedule > Scheduler Display > Schedule Block Colours)
 - viewing leads, quotes, jobs, invoices, and purchase orders
- viewing a table, if enabled through Modify Table View
- updating Simpro Mobile.
They are useful for:
- understanding the status of leads, quotes, jobs, invoices, and purchase orders within each stage
- filtering leads, quotes, jobs, invoices, and purchase orders.
Once you have set up your status codes and triggers for Simpro Premium, consider how you want these status codes and triggers to work with Simpro Mobile.
Learn about setting up mobile statuses in How to Set Up Statuses.
 Required setup
In order to view content or perform actions referred to in this article you need to have the appropriate permissions enabled in your security group. Go to System![]() > Setup > Security Groups and access your security group to update your permissions. The relevant security group tab and specific permissions for this article can be found here:
> Setup > Security Groups and access your security group to update your permissions. The relevant security group tab and specific permissions for this article can be found here:
 Create a status code
To create a status code:
- Go to System
 > Setup > System Setup > Status Codes > Status Codes.
 - Click Create Status Code.
- Enter a Name.
- Select a colour using the sliding bar.
- Select Ignore Status Priority to allow this status to be selected at any point in the workflow. Learn more in Ignore status priority.
- Click Create.
 Edit a status code
To edit a status code:
- Go to System
 > Setup > System Setup > Status Codes > Status Codes.
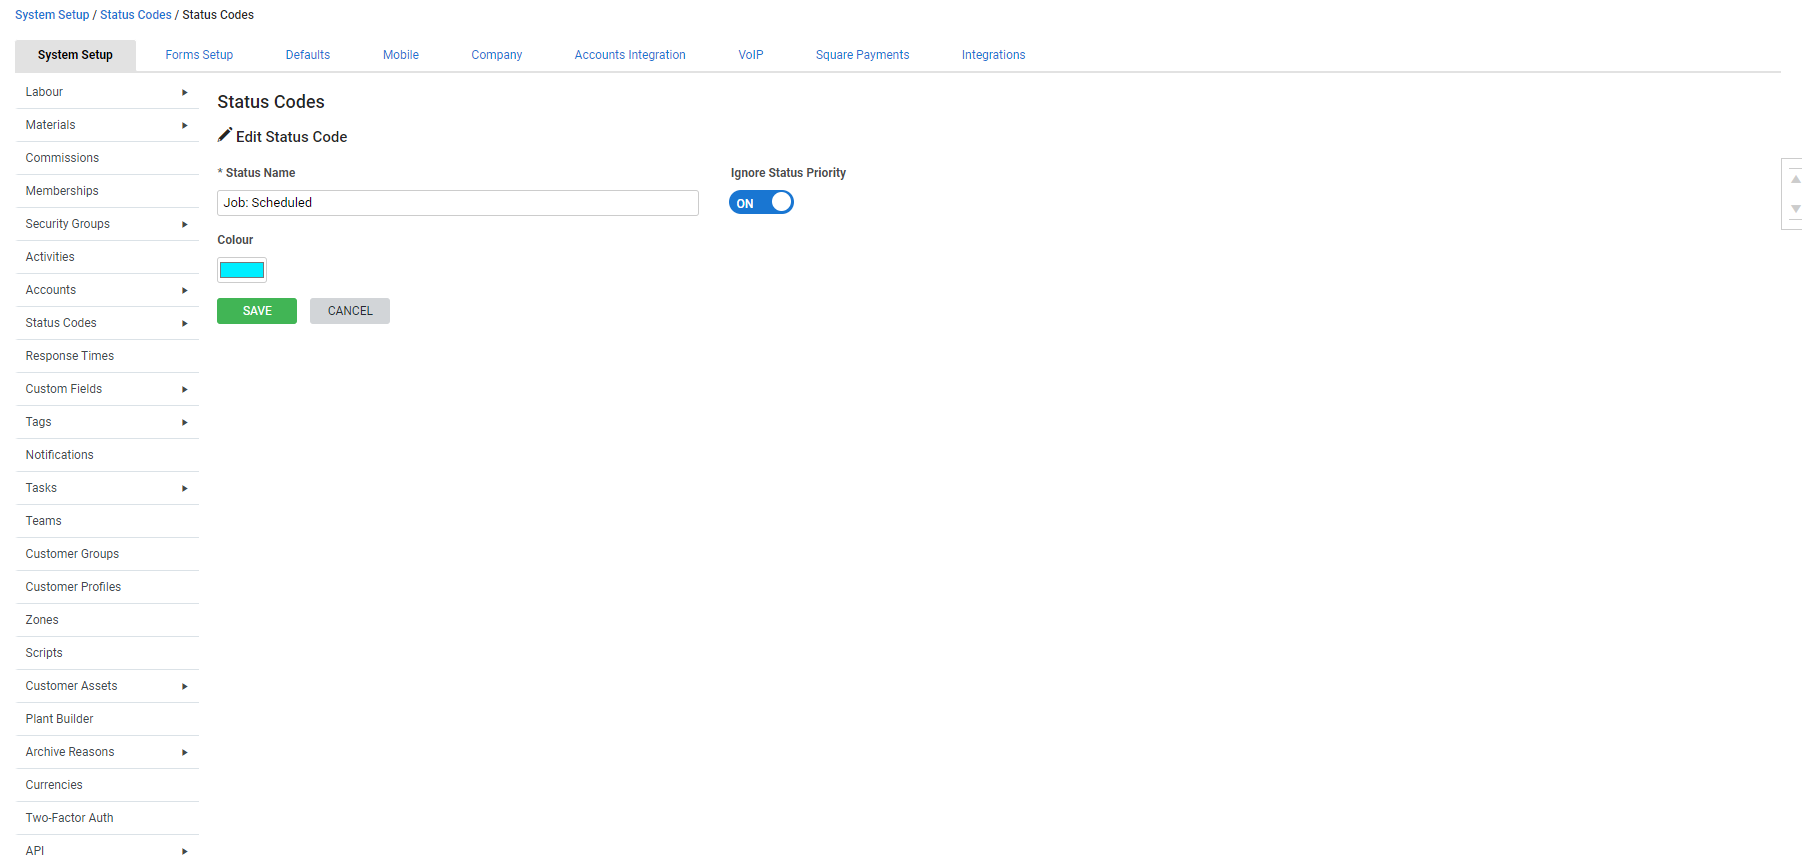
 - Click the status code you wish to edit.
- Make changes as required.
- Click Save.
 Delete a status code
To delete a single status code:
- Go to System
 > Setup > System Setup > Status Codes > Status Codes.
 - On the status code you wish to edit, click the
 icon.
icon.
To delete multiple status codes at once:
- Go to System
 > Setup > System Setup > Status Codes > Status Codes.
 - Select the check box for each status code you wish to delete, or select the Select All check box.
- Click Delete.
 Assign a status code to an automatic trigger
While automatic triggers are predefined in Simpro Premium, you can choose which statuses (if any) are assigned to each trigger.
Triggers are grouped under Leads, Quotes, Jobs, Invoices, Purchase Orders, and Mobile Jobs.
To assign a status code to an automatic trigger:
- Go to System
 > Setup > System Setup > Status Codes > Automatic Triggers.
 - Find the automatic trigger you want to edit.
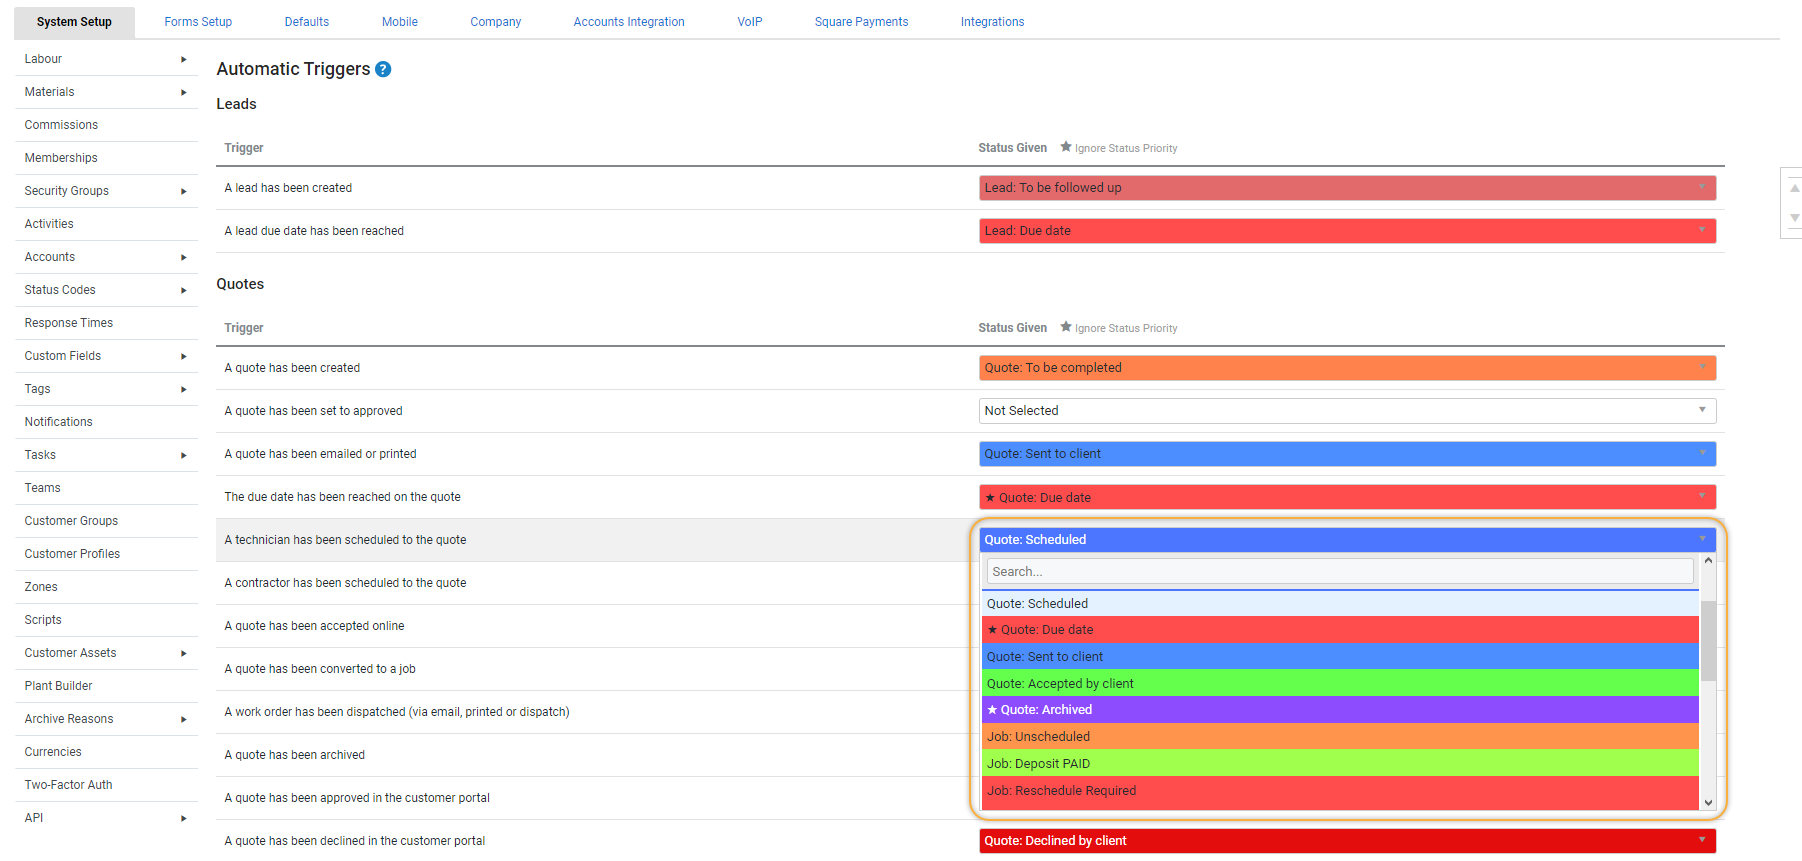
- Select a status code from the drop-down list in the Status Given column.
- The status must be in the correct order of priority or selected to ignore status priorities, in order for the stage to be updated by the trigger.
- Click Save.
 Assign a project stage to an automatic job trigger
For jobs, you can also assign project stages to automatic triggers. When a job passes that trigger point, its colour changes and the job moves to the nominated stage.
To assign a project stage to an automatic job trigger:
- Go to System
 > Setup > System Setup > Status Codes > Automatic Triggers.
 - In the Jobs group, find the automatic trigger you want to edit.
- Select a status from the drop-down list in the Status Given column.
- Any status that is selected must be in the correct order of priority or selected to ignore status priorities, in order for the stage to be updated by the trigger. Learn more Ignore status priority.
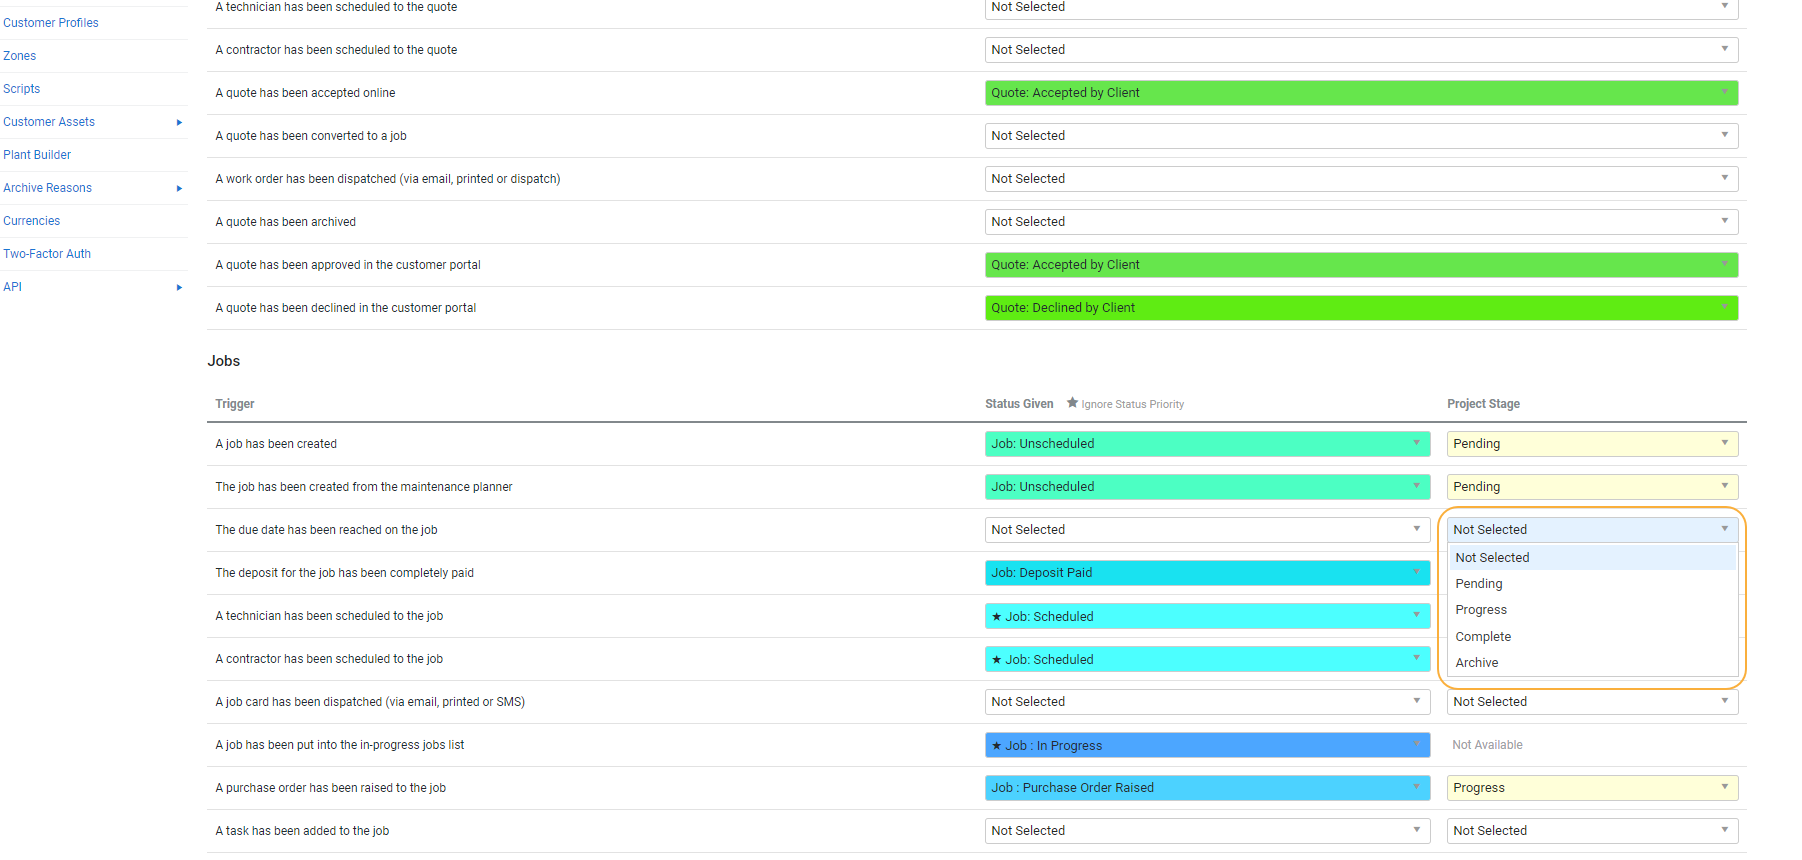
- Select a project stage from the drop-down list in the Project Stage column.
- If you select a project stage but no status, a warning prompts you to select a status.
- Click Save.
You cannot select a Project Stage for triggers that involve moving a job to a list. For example, the trigger “A job has been put into the in-progress job list” cannot be assigned a Project Stage.
 Advanced
 Manually update a status code
If you need to use a status code that does not naturally match one of the system's automatic triggers, such as 'Job: Internal Review Required', you can manually update a lead, quote, job, invoice, or purchase order's status code.
To manually update a status code:
- Open the leads, quotes, jobs, invoices, and purchase orders.
- Go to Details > Settings > Status.
- Select the status code from the drop-down menu.
- Click Save and Finish.
To manually update multiple status codes at once:
- Open the list of leads, quotes, jobs, invoices, and purchase orders.
- Select the projects whose status code you wish to alter.
- At the bottom of the screen, select a new status from the Update Status drop-down list.
- Click Update.
To switch off automatic updates for a certain lead, quote, job, invoice, or purchase order, open it, go to Details > Settings > Status and clear the Auto Adjust check box. When automatic updates are switched off, triggers from Simpro Mobile and Simpro Premium do not update the lead / quote / job / invoice / purchase order, so the status must be manually adjusted.
 Ignore status priority
The way your status codes are positioned, under System ![]() > Setup > System Setup > Status Codes > Status Codes, determines their status priority. Status codes at the top of the list are triggered first and continue down the status codes list in order. To allow status codes to be applied to jobs regardless of their priority in System Setup, select Ignore Status Priority.
> Setup > System Setup > Status Codes > Status Codes, determines their status priority. Status codes at the top of the list are triggered first and continue down the status codes list in order. To allow status codes to be applied to jobs regardless of their priority in System Setup, select Ignore Status Priority.
For example, consider the workflow for an in progress job. When you schedule the job, this triggers the “Job: Employee Scheduled” status. When you complete the job, this triggers the “Job: Complete” status code.
The job then requires another employee to attend the job site, with Ignore Status Priority selected on the status code “Job: Employee Scheduled”. Scheduling an employee on the job allows the trigger to update the status regardless of its priority.
 Arrange status codes by priority
The way your status codes are positioned, under System ![]() > Setup > System Setup > Status Codes > Status Codes, affects whether or not those codes trigger when using a linear workflow.
> Setup > System Setup > Status Codes > Status Codes, affects whether or not those codes trigger when using a linear workflow.
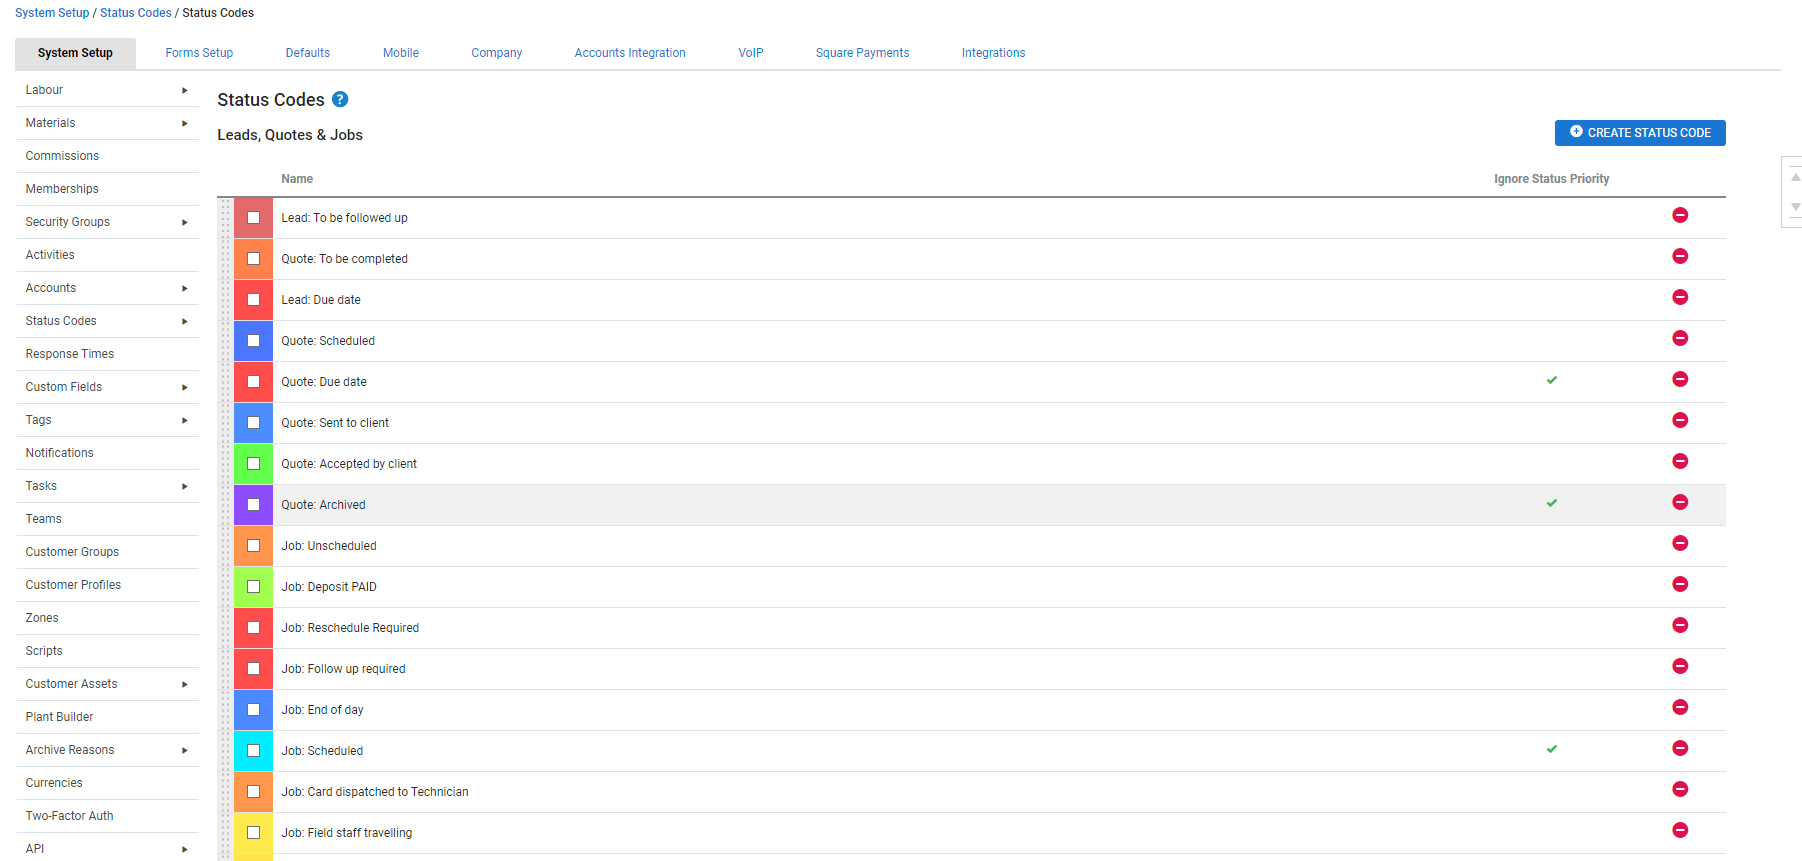
Use the drag handles to arrange the codes to exactly match your workflow, with the earliest codes up the top of the list and the later codes down the bottom. This order gives the codes priority, and the further down the list it is, the higher priority it is given.
If an automatic trigger happens for a code with low priority (near the top of the list) after a code with higher priority (further down the list), the lower priority status code does not update and any project stages set on the trigger are not applied.
For example, consider the workflow for a new quote. You create the quote, triggering the 'Quote: To Be Completed' status code. Then you email it, triggering the 'Quote: Sent to Client' status code.
For these status codes to trigger properly, they need to be arranged in the Status Codes list in work order. The 'Quote: To Be Completed' status code should come first, followed by the 'Quote: Sent to Client' status code.
If they were arranged the other way around, 'Quote: Sent to Client' would not trigger when you email the quote, as this status code would have a lower priority than the 'Quote: To Be Completed' code you had already triggered, and the system would ignore it.
 Tips
Tips
Choose meaningful colour-coding
When setting up your status code colours, try to choose colours that are easy to recognise.
If you used colour-coding before moving to Simpro Premium, use those colours again for easy recognition.
Colour gradients are useful, such as choosing different shades of green for quotes and shades of blue for jobs.
Alternatively, you might prefer a traffic light-coloured system. Experiment and find a system that works best for your business.


