Last Updated: December 15 2025
Overview
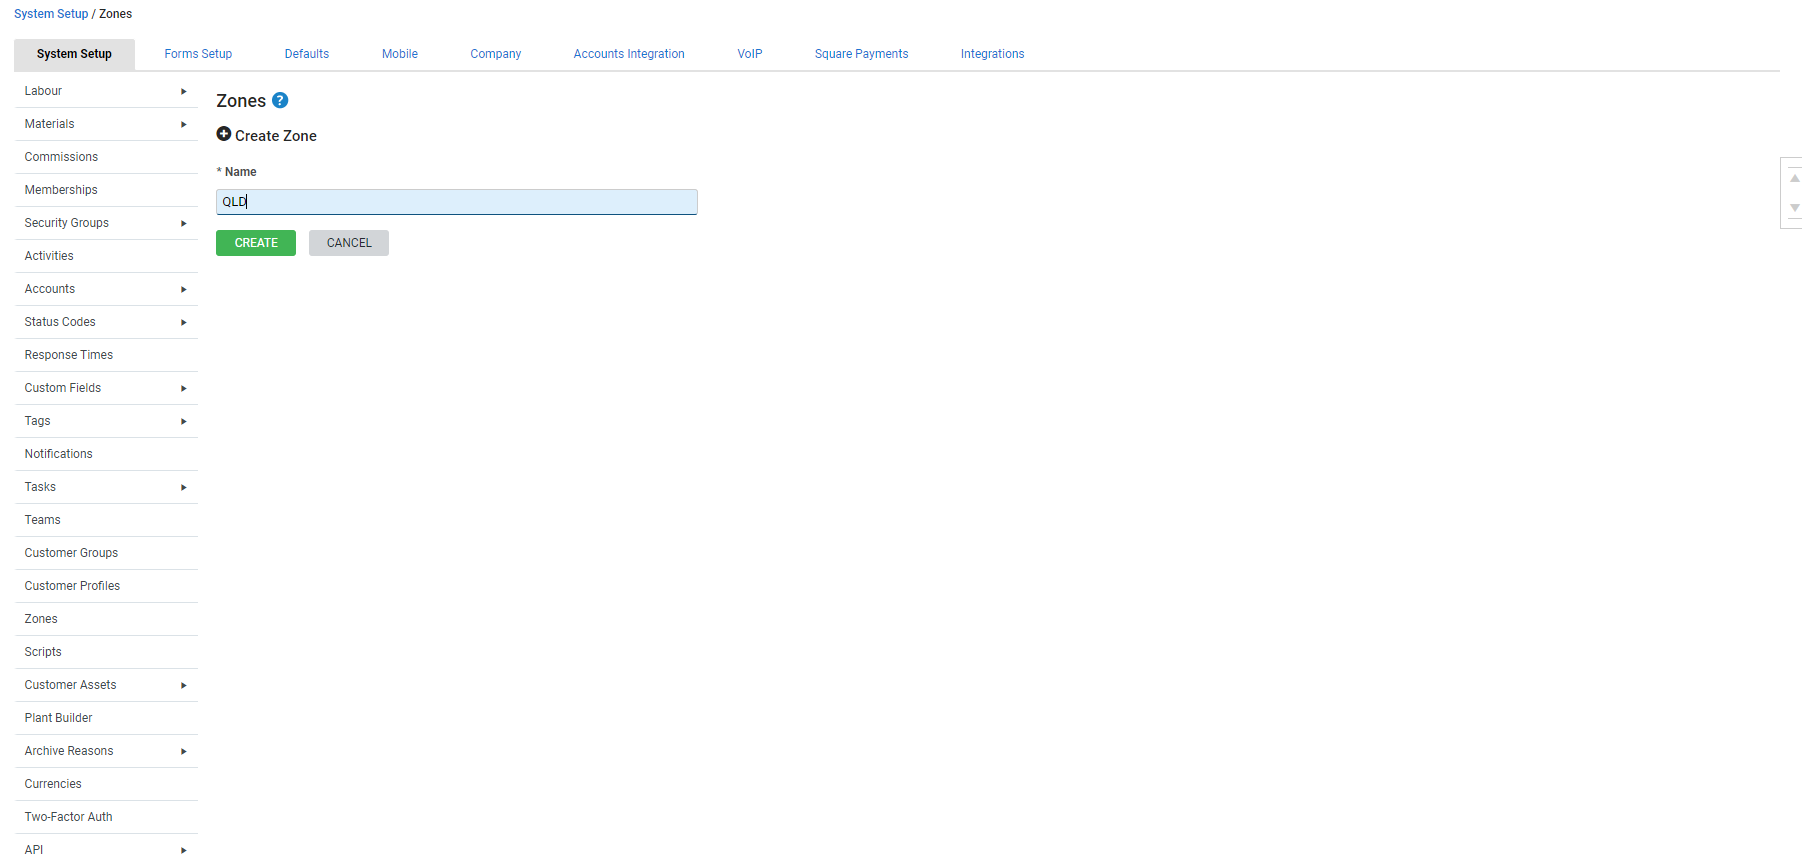
In Simpro Premium, a zone is a geographical area used to schedule efficiently and minimise travel time for technicians.
After zones are set up, they can be assigned to a site, employee, contractor, or plant item.
For example, if you assign a zone to a site, then create a job for that site, you can only view and schedule technicians assigned to that zone.
 Required setup
In order to view content or perform actions referred to in this article you need to have the appropriate permissions enabled in your security group. Go to System![]() > Setup > Security Groups and access your security group to update your permissions. The relevant security group tab and specific permissions for this article can be found here:
> Setup > Security Groups and access your security group to update your permissions. The relevant security group tab and specific permissions for this article can be found here:
 Edit a zone
To edit a zone:
- Go to System
 > Setup > System Setup > Zones.
 - Click the zone you wish to edit.
- Make changes as required.
- Click Save.
 Delete a zone
To delete a zone:
- Go to System
 > Setup > System Setup > Zones.
 - On the zone you wish to delete, click the
 icon.
icon. - Click OK.
To delete multiple zones at once:
- Go to System
 > Setup > System Setup > Zones.
 - Select the check box for the zones you want to delete, or select Select All.
- Click Delete.
- Click OK.
 Assign a zone
 Assign a zone to a site
To assign a zone to a site:
- Create a new site, or open an existing site card file.
- Under Profile > Details, click the Zone field and select a zone from the drop-down list.
- Adjust the rest of the site details as needed.
- Click Save and Finish.
To assign a zone to a site through a customer card:
- Create a new customer, or open an existing customer card file.
- Click the Sites tab.
- Click the site you wish to assign a zone to.
- Under Profile > Details, click the Zone field and select a zone from the drop-down list.
- Adjust the rest of the site details as needed, then click Finish.
- Adjust the rest of the customer details as needed.
- Click Save and Finish.
Learn more in How to Manage Sites.
 Assign a zone to an employee or contractor
To assign a zone to an employee or contractor:
- Create a new employee or contractor, or open an existing employee or contractor card file.
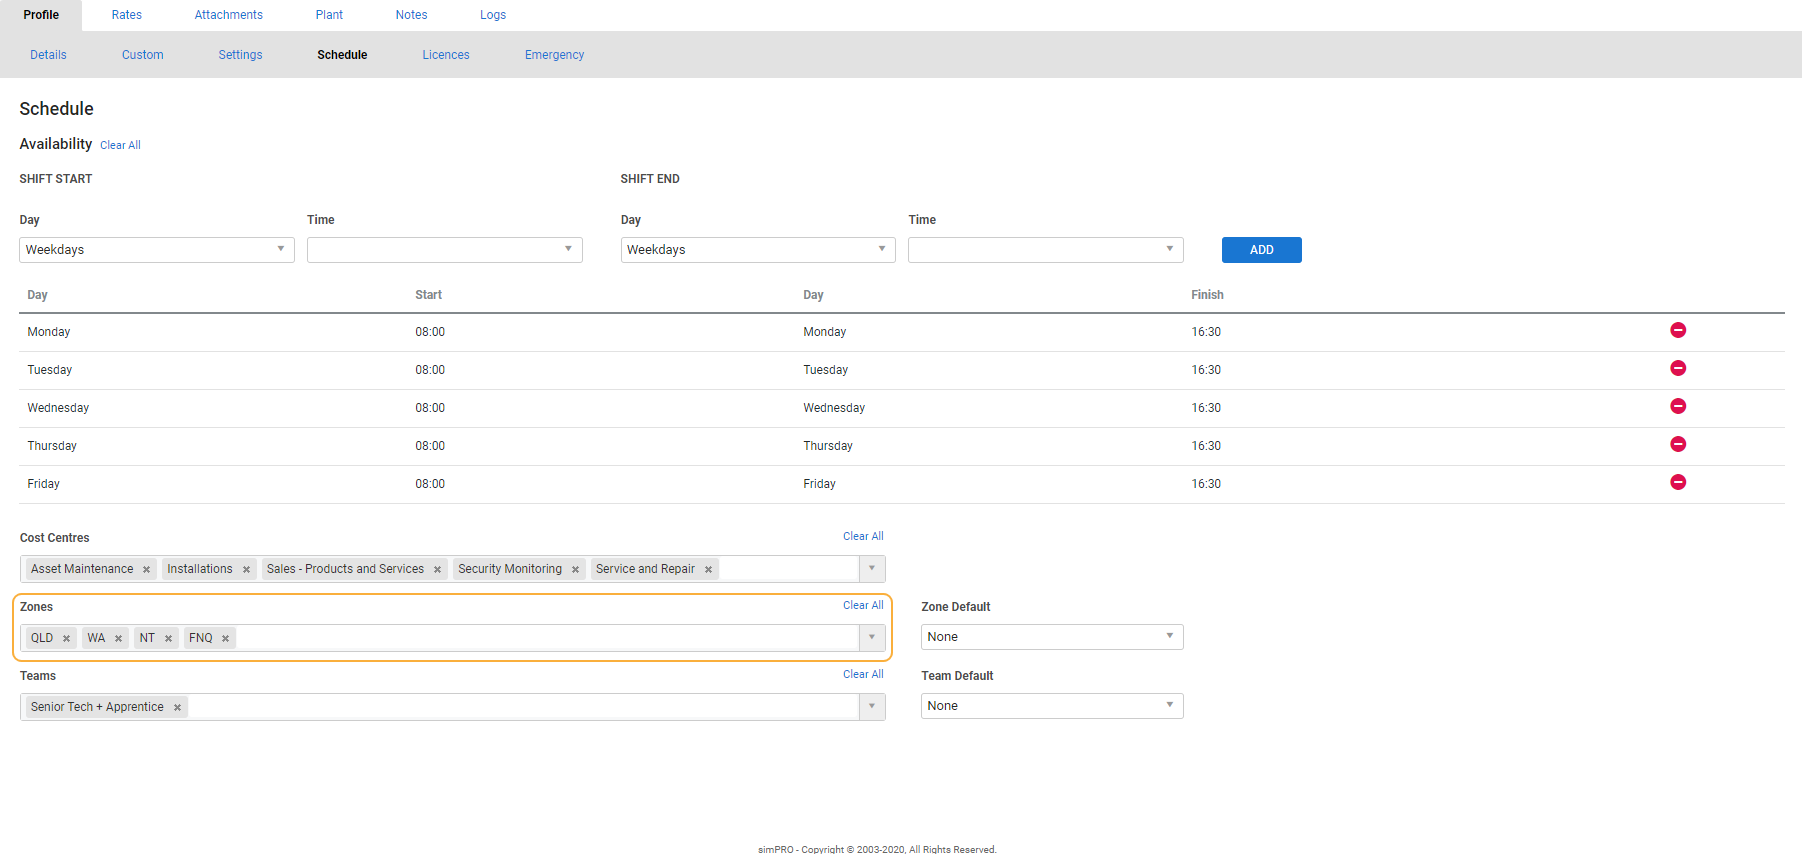
- Go to Profile > Schedule > Zones.
- Select from the Zones drop-down list as required.
- Select a Zone Default if required. When the employee / contractor views the schedule, the schedule filters for resources assigned to the default zone.
- Adjust the rest of the card file as needed.
- Click Save and Finish.
If you have a large number of zones, avoid assigning them to one employee at one time.
Learn more in How to Manage Employees and How to Create Contractors.
 Assign a zone to a plant item
To assign a zone to a plant item:
- Create a new plant item or open an existing plant item.
- Under Details, ensure the Enable Scheduling check box is selected.
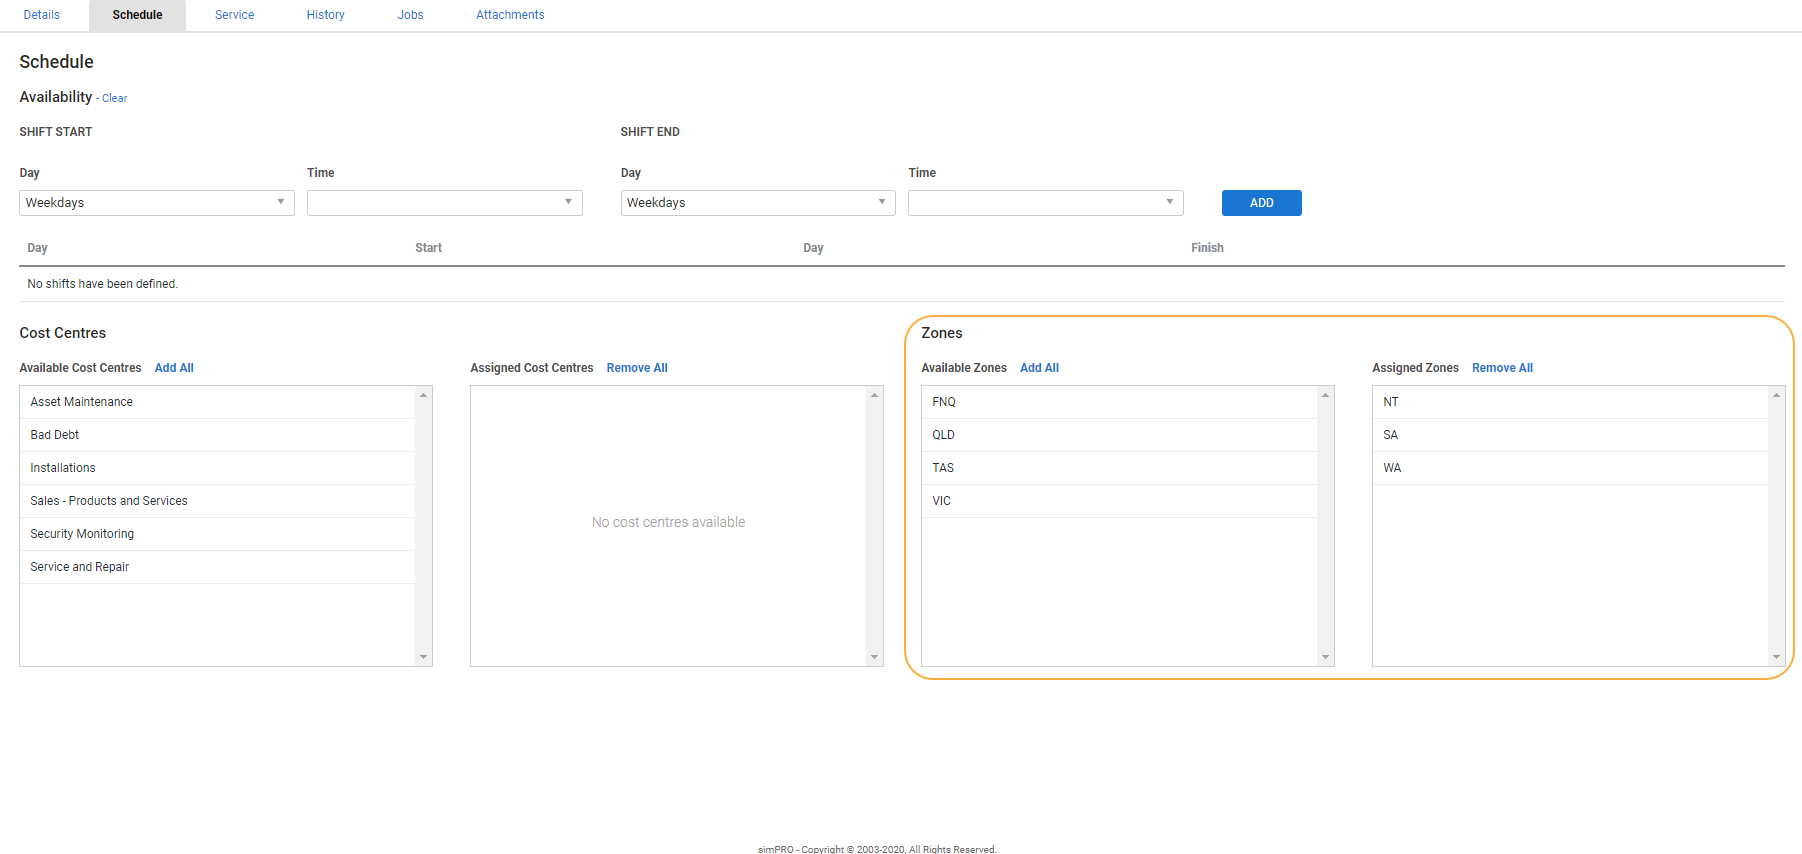
- Click the Schedule tab.
- Click a zone in Available Zones to add it to Assigned Zones.
- Adjust the rest of the plant item as needed.
- Click Save and Finish.
Learn more in How to Create Plant Items.


