Last Updated: December 12 2025
Overview
Export Simpro Premium asset data into a zip file which contains a separate CSV or text file for each asset type. All fields included in the asset export can be imported back in to Simpro Premium. This makes updating assets in bulk easier, because you can export your current list of assets, make changes, and then import the updated list. Learn more in How to Import Assets.
You need to have the applicable security group permissions enabled to export.
 Required setup
In order to view content or perform actions referred to in this article you need to have the appropriate permissions enabled in your security group. Go to System![]() > Setup > Security Groups and access your security group to update your permissions. The relevant security group tab and specific permissions for this article can be found here:
> Setup > Security Groups and access your security group to update your permissions. The relevant security group tab and specific permissions for this article can be found here:
Before performing the steps detailed below, ensure that this part of your build is set up correctly. The relevant steps to set up the features and workflows detailed in this article can be found here:
 Export assets
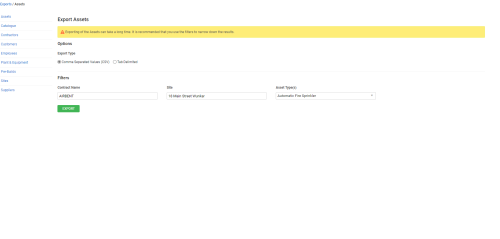
Go to Export > Assets to export assets using the following options:
| Contract Name |
If you have purchased and enabled Maintenance Planner |
| Site | Export assets associated with a particular site. |
| Asset Type(s) | Export assets according to specific asset types. Learn more in How to Create Asset Types. |
Use the drop-down lists in the Filters section to narrow down your export results. Once the export has processed, click Download to save the .ZIP file to your local drive. All file names have a timestamp for your future reference.
