Last Updated: February 05 2026
Overview
Hover over Schedules ![]() to see a range of view options. There are four main views, with an extra view in Simpro Premium:
to see a range of view options. There are four main views, with an extra view in Simpro Premium:
| Day View |
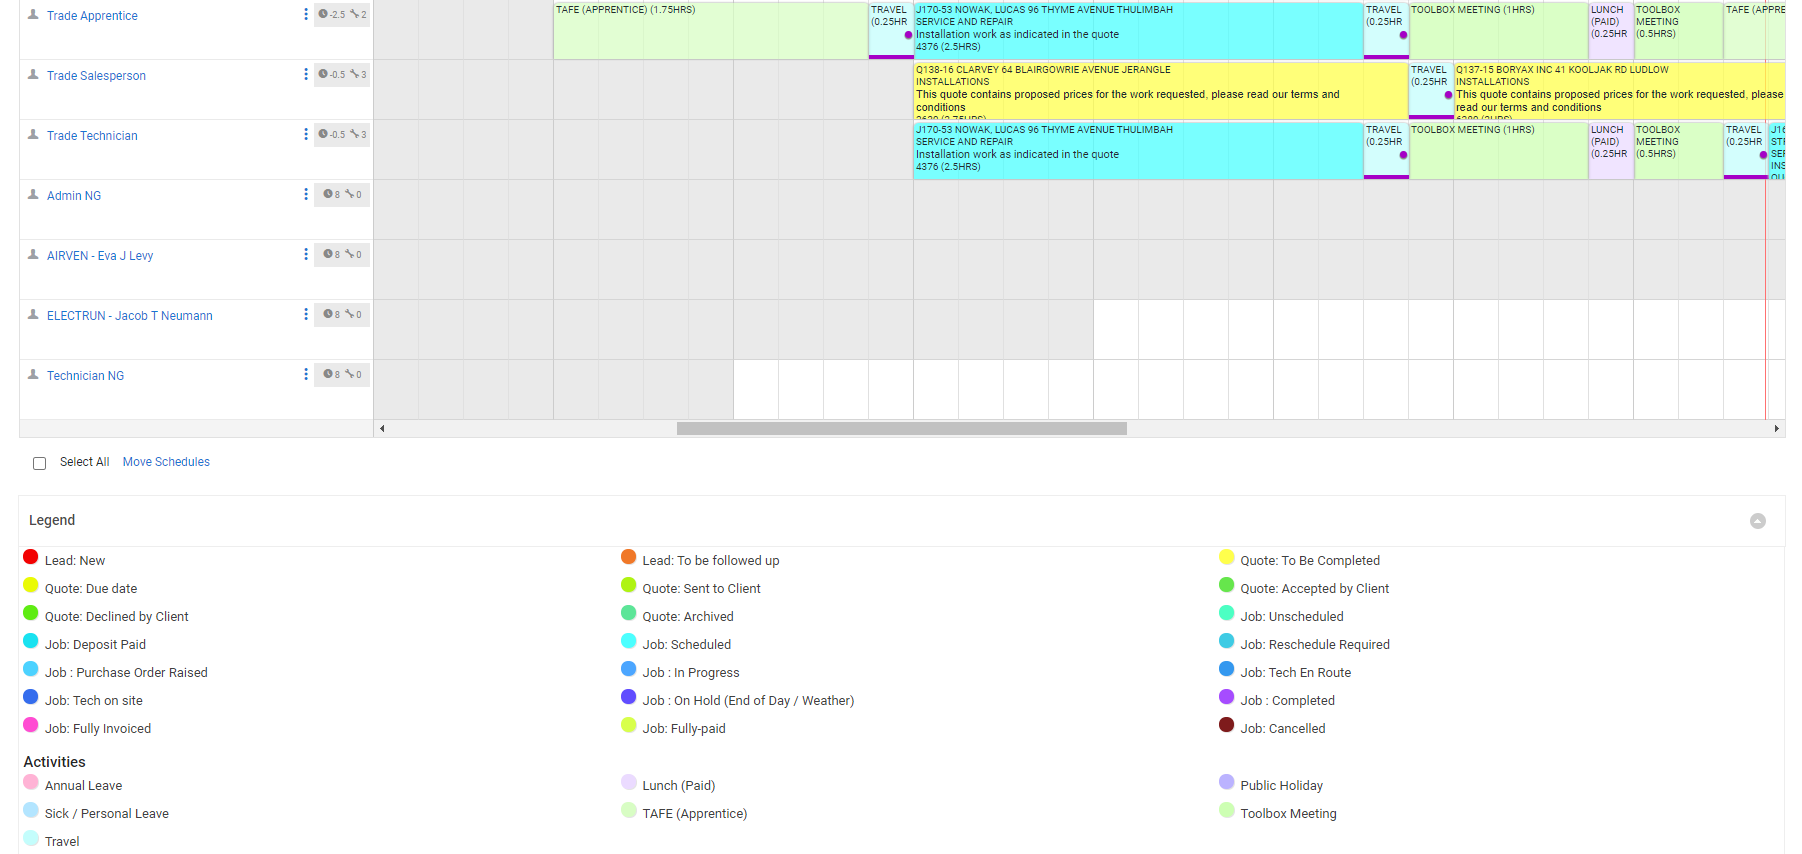
A 24-hour view. Resources are listed on the left. Create a schedule by dragging horizontally. Learn more in How to Schedule in Day View. |
| Week View |
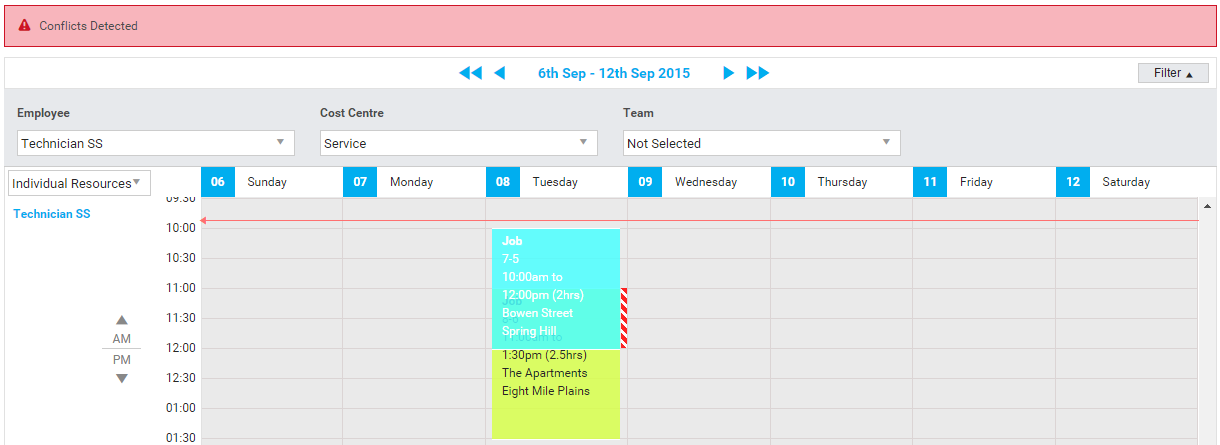
A seven-day view. Resources are listed in their own sections. The first day of the week is shown as defined in How to Set Up Schedule Defaults. Create a schedule by dragging vertically. Learn more in How to Schedule in Week View. |
| Month View |
A month-long view. Displays all schedules for all resources. Useful for companies with smaller workforces. Learn more in How to View Schedules in Month View. |
| Project View |
Displays project job schedules. Jobs are listed on the left. Schedules can be filtered by a range of options. Learn more in How to Schedule in Project View. |
| Manual View |
Based on timesheets. Choose a resource to show their schedules for a chosen week. Use to manually enter hours or add additional schedules. Learn more in How to Schedule in Manual View. |
Note that field users can only update their time blocks on the schedule from Simpro Mobile by either tapping Review and Finish, selecting a status and tapping Save and Submit or by tapping back to exit a quote or job and tapping Save and Submit.
 Required setup
In order to view content or perform actions referred to in this article you need to have the appropriate permissions enabled in your security group. Go to System![]() > Setup > Security Groups and access your security group to update your permissions. The relevant security group tab and specific permissions for this article can be found here:
> Setup > Security Groups and access your security group to update your permissions. The relevant security group tab and specific permissions for this article can be found here:
 Navigate schedules
Colour codes
Schedules are colour-coded by their status, unless otherwise defined in How to Set Up Schedule Defaults. Use the Legend at the bottom of the page for quick colour code reference.
Change the date range
Changing the date range of visible schedules depends on your schedule view:
In Day View:
- Click on the day you want.
- Click on the arrows either side of the month.
- Click the date itself to open a calendar to choose from.
In Week View:
- Click the single arrows to move the week forward or back by a day.
- Click the double arrows to skip forward an entire week.
- Click the date itself to open a calendar to choose from.
In Month View, Manual View and Project View: click the arrows either side of the month or week.
Filter for available employees
In Day View, Week View and Project View > Employee View, the options under Filter display employees who fit those filters.
- Employee filters the list of available resources by the chosen employee.
- Cost Centre displays all employees that are assigned to that cost centre. Learn more in Set schedule availability.
- Zone lists all employees that are available to be scheduled within the selected zone.
- Team lists all employees assigned to the selected team. Select either Individual Resources or Team Resources to schedule each team member individually or the team as one unit. Use Team to manage which employees are visible from the schedule view. Learn more How to Create Teams.
Filter for schedule blocks
In Month View and Project View, the options under Filter display schedule blocks that fit those filters.
- Employee displays any schedule blocks for the selected employee.
- Cost Centre displays all schedule blocks for quotes and jobs for the selected cost centres.
- Zone displays schedule blocks for quotes and jobs assigned to the selected zones.
- Team lists all schedule blocks for the selected teams.
 Right-click options
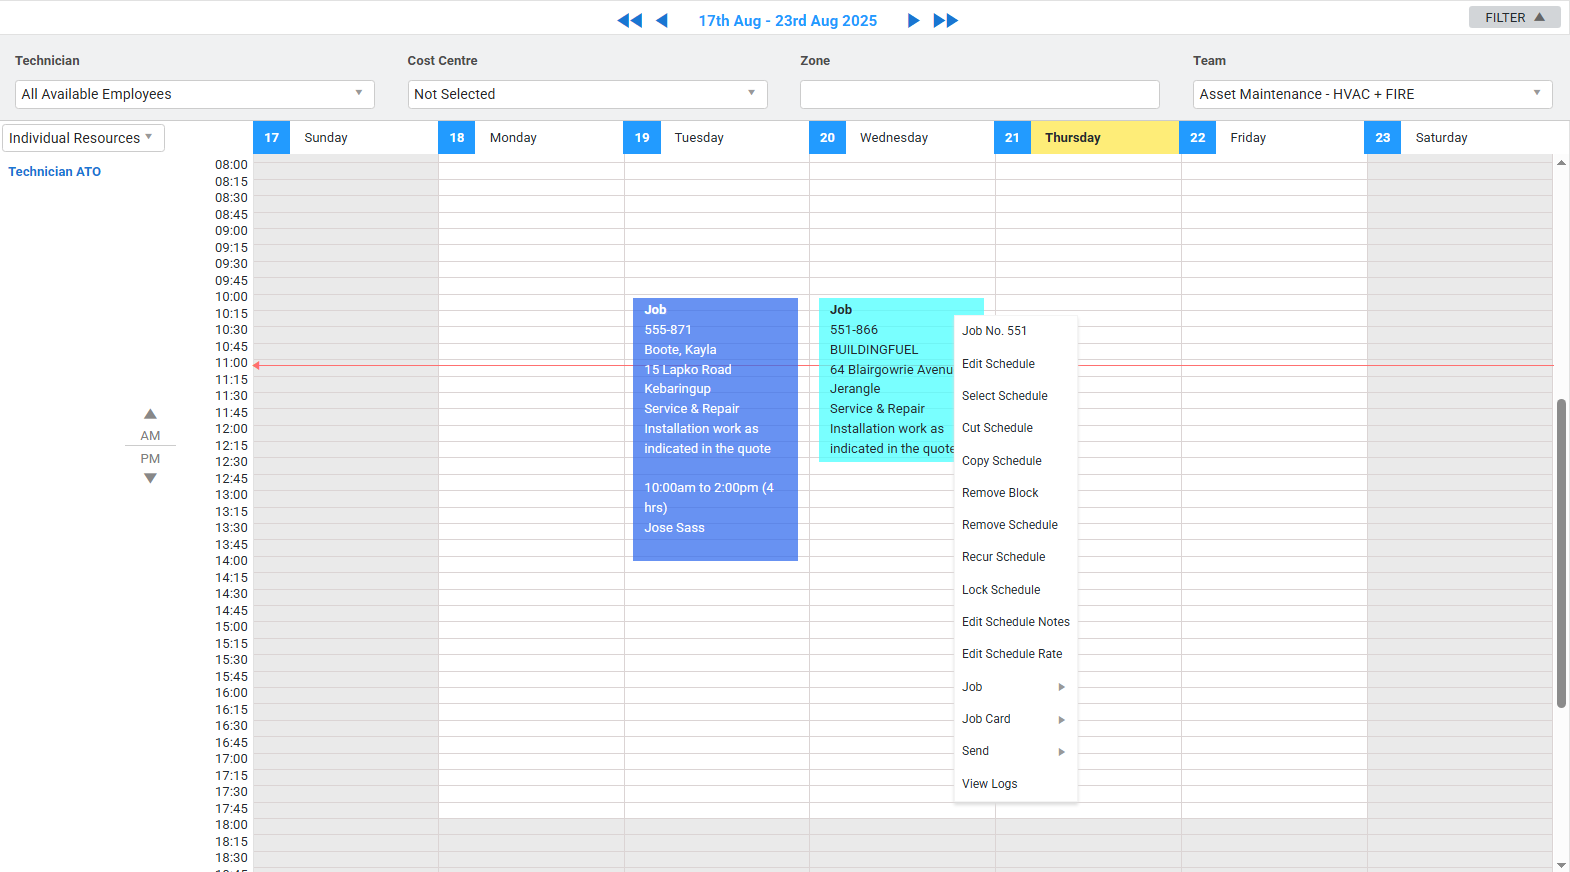
Right-click on a schedule block for a range of options:
| Job No. / Quote No. |
Open the Job Details or Quote Details card. You can also open this by clicking or double-clicking the schedule block, depending on your Schedule Defaults. Learn more in How to Set Up Schedule Defaults. |
| Edit Schedule |
Manually edit the Date, Start Time and End Time of a schedule. You can also schedule technicians overnight when setting the Start Time and End Time. If a schedule runs overnight, a warning text will appear. |
| Edit Schedule Notes | Add notes for the technician for that schedule. These notes appear in the Job Details card and in Simpro Mobile. |
| Select Schedule | Select that schedule block. |
| Cut Schedule | Cut the schedule block to paste it elsewhere. When a schedule is cut, a resource's remaining available hours appear below each day on the calendar. |
| Copy Schedule | Copy the schedule so you can paste to additional resources or multiple days. |
| Paste Schedule | Only appears after a schedule has been cut or copied. |
| Recur Schedule | Set up a recurring schedule. |
| Remove Recurring | Only appears on a recurring schedule. Click to stop the schedule recurring. |
| Lock Schedule | Prevent unauthorised users from moving the schedule. A small padlock appears in the right corner of the schedule bar. |
| Unlock Schedule | Only appears when the schedule has been locked. Click to unlock. |
| Remove Block | Delete the selected schedule block. |
| Remove Schedule | Delete all schedule blocks for the selected lead, quote, job or activity from that day and resource. |
| Job / Quote |
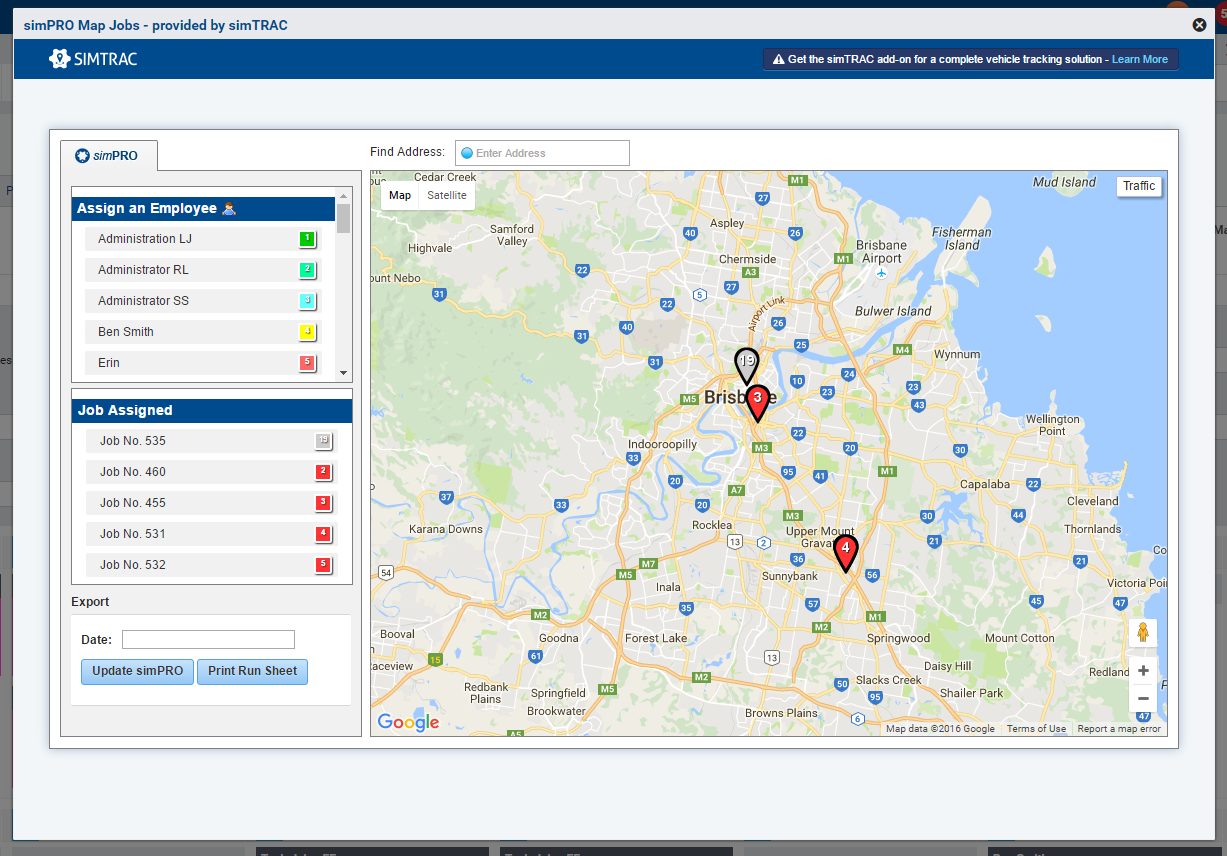
Edit, map site, update stage / status, or change project manager for that job or quote. |
| Job Card / Quote Card |
View, print, email or approve the Job Card / Quote Card. You can also open this by clicking or double-clicking the schedule block, depending on your Schedule Defaults. Learn more in How to Set Up Schedule Defaults.
US only: If you use Simpro Premium in the United States, the term 'work order' is used instead of 'job card'. |
| Send |
Send a schedule SMS, email appointment, or Simpro Mobile notification to a technician, depending on your System Setup. |
| Bring to Front | Only appears with two or more overlapping schedule blocks. Bring one of the overlapping blocks to the top to view, edit, copy etc. |
| View Logs |
View a log of this employee or contractor’s schedule. The Message column indicates the original and updated time and date of the schedule block that has been changed, and what change was made. This included updates to existing schedule blocks, adding new schedule blocks and removing schedule blocks. The Date & Time column indicates when the changes were made. The ID and Name column indicate which employee or contractor made the changes. The Event column summarises what kind of change was made. Filter by Message, Log Date, Name or Event to refine which logs are displayed. |
 Tips
Tips
Time zones
A Simpro Premium build can only use a single time zone. To select your build’s time zone, go to System ![]() > Setup > Defaults > System.
> Setup > Defaults > System.
For example, if a user in one time zone schedules a job at 9am, and the technician is in a time zone that is one hour ahead, the job shows up in the technician’s schedule for 9am and not 10am.
To operate over multiple time zones, purchase multi-company to set up franchises with differing time zones. Learn about multi-company in Multi-Company FAQs.
Only show required employees
There may be a group of employees that are scheduled regularly or you may only be required to schedule field staff in Simpro Premium and office staff can be excluded by default. Save time by having the relevant group of employees appear by default when a specific employee is using the schedule.
To set up a group of employees that appear to be scheduled by default:
- Go to System > Setup > Teams > CREATE TEAM.
- Under Team Name, enter a name to identify this group.
- Under Available Resources add the employees that will appear on the schedule by default.
- Click CREATE.
- Go to People > Employees and click the employee who will be performing the scheduling to open their employee card.
- Go to Profile > Schedule.
- Under Teams add the newly created team and select the team as the employee’s Default Team.
- Click Save and Finish.
Learn more in How to Create Teams.
 Walk Me Through
Need additional help?
Try Walk Me Through, our step-by-step guidance tool, to view the schedule.
In Simpro Premium, go to Help ![]() > Walk Me Through and search Schedule Overview.
> Walk Me Through and search Schedule Overview.
Learn more in How to Use Walk Me Through in Simpro Premium.
 Learn more in the Learning Toolbox
For additional training, complete an interactive material in the Simpro's Learning Toolbox. Learn more in About Simpro's Learning Toolbox.
 Get a demo
Interested in Simpro and want to learn how its features can benefit your business? Visit the Simpro website to discover more and request a demo today.


