Last Updated: December 15 2025
Overview
When you log in to Simpro Premium and view the dashboard, you can use a variety of methods to navigate Simpro Premium.
Learn more in How to Access Simpro Premium and How to Use the Simpro Premium Dashboard.
 Required setup
In order to view content or perform actions referred to in this article you need to have the appropriate permissions enabled in your security group. Go to System![]() > Setup > Security Groups and access your security group to update your permissions. The relevant security group tab and specific permissions for this article can be found here:
> Setup > Security Groups and access your security group to update your permissions. The relevant security group tab and specific permissions for this article can be found here:
 Navigate using menus
You can navigate to all areas of Simpro Premium using the following menus:
- System menu
- Main menu
These menus can be accessed from anywhere in Simpro Premium.
 System menu
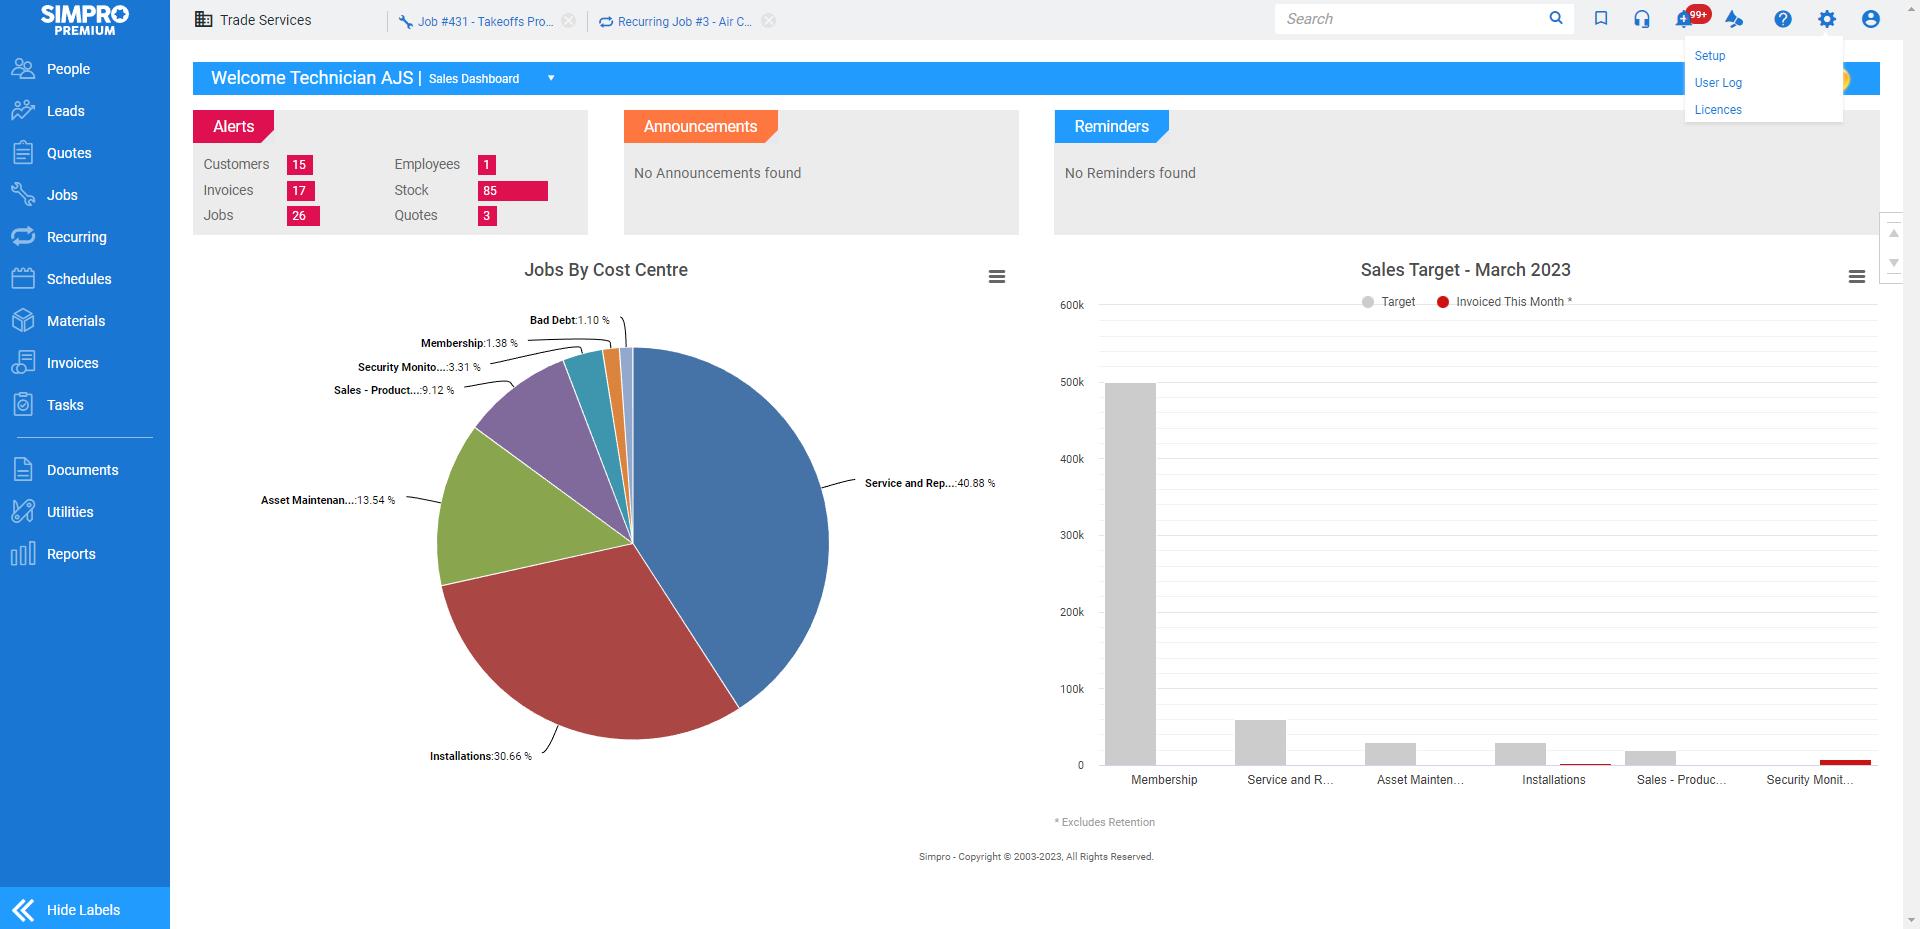
Access the System menu in the far top right to:
- Search for actions, records and card files in your system using the Global Search bar. You can also view your saved searches using the icon. Learn more in How to Search Simpro Premium Data.
- View system alerts by clicking the Alerts icon. To learn when system alerts appear and how to action them, see How to View Alerts.
- Open the VoIP softphone window using the
 icon, if VoIP integration is enabled.
 - View notifications for any important events that are triggered within Simpro Premium by clicking the
 icon.
icon. - Access your employee card file by hovering over the Account
 icon, then clicking My Account. You can also click Change Password to update your password. Log out of Simpro Premium and make the licence available for another user by clicking Log out.
Hover over the System ![]() icon to access:
icon to access:
| Setup | Access setup options for your system, forms, defaults, mobile, company and accounts integration. |
| User Log |
View current licences in use and the system access logs. This is useful if you need to log out inactive users to enable other users to use the licences to log in. The log message PHP Expired indicates a user has been logged out by the system after being idle for four hours. |
| Licences |
Manage the number of licences available to your business. Learn more in How to Use Licences. |
The Licences option only appears in the System drop-down menu for users with company management security group permissions.
Hover over the Help ![]() icon to access:
icon to access:
| Help |
|
 Main menu
Access Simpro Premium's key functionalities and actions through the main menu. And, access the Utilities ![]() menu to manage how Simpro Premium operates together with your business.
menu to manage how Simpro Premium operates together with your business.
Expand or hide menu labels to see both menu icons and menu labels. The selected view is saved for the next time you log into Simpro Premium.
The Show / Hide Labels button is only available if the browser has enough space to display the entire main menu. The minimum width required to display the full expanded menu is 1400 pixels at 100% zoom. If you are unable to view the expand labels option, you may need to confirm the display settings on your computer.
| People |
Create and manage customers, sites, suppliers, employees and contractors in your system. Learn more in: |
| Leads |
Create and manage leads to keep track of potential business. Learn more in How to Create a Lead. |
| Quotes |
Create and manage quotes at various stages. Learn more in How to View Quotes. |
| Jobs
|
Create and manage jobs at various stages. Learn more in How to Manage Existing Jobs. |
| Recurring |
Create and manage recurring jobs and invoices. Learn more in How to Create Recurring Jobs and How to Create Recurring Invoices. |
| Schedules
|
View and manage schedules, including for projects, as well as timesheets, job cards and run sheets. Learn more in About Schedules. |
| Materials |
Manage stock / inventory and create and manage purchase orders and supplier quotes. Learn more in: |
| Invoices |
Manage invoices, including contractor invoices, payments and credits. Learn more in Invoicing Overview. |
| Tasks
|
Create and manage tasks for your employees to complete. Learn more in How to Use Tasks. |
| Documents |
View a printable Job Card Template. You can also set up other documents to be available in this menu. Learn more in How to Set Up Documents. |
| Utilities |
Access:
|
| Reports
|
View and schedule reports. Learn more in Reports. |
You can also search for actions, records and card files in your system by using the main menu Global Search bar. You can also view your saved searches. Learn more in How to Search Simpro Premium Data.
US only: If you use Simpro Premium in the United States, the term 'vendor' is used instead of 'supplier'.
US only: If you use Simpro Premium in the United States, the term 'work order' is used instead of 'job card'.
 Return to the dashboard
To return to the dashboard from anywhere in Simpro Premium, click the Simpro Premium logo on the Dashboard in the top left above the main menu.
Learn more in How to Use the Simpro Premium Dashboard.
 Navigate within card files, projects, and setup
You can navigate within card files, projects, setup, other data entries, and more in Simpro Premium in the following ways:
 Click tabs and sub-tabs
Data and settings in Simpro Premium card files, projects, System Setup, and more are organised in tabs, with some tabs broken down further into sub-tabs.
You can click these tabs to locate and update the related data and settings.
The current tab you are viewing appears with a grey background, while the other tabs appear in white. The current sub-tab you are viewing is displayed in a black and bold font, while other sub-tabs appear in blue font.
 Save your changes in Simpro Premium
When you create or edit a data entry in Simpro Premium, such as a job, quote, customer, employee, supplier, invoice, and more, you can click one of the following buttons to save or discard your data.
| Cancel |
Exit the data entry without saving. If you have just created the data entry, no record of it saves in Simpro Premium. If you have already clicked Save or you are updating an existing data entry, only your recent changes discard and the data entry still exists in Simpro Premium. When Autosave is enabled, this option is only available when you first open a project, and will not be available after you have saved the project for the first time. |
| Save | Save your data entry in Simpro Premium and continue editing. If you have just created the data entry, clicking Save creates a record with an ID that you can access from its applicable data table. |
| Save and Finish |
Save and exit the data entry, and select from various options for what to do next. For example, in a quote, you have the options to view quotes, convert the quote to a job, edit the quote, or schedule. |
| Next |
When you have created a new job, quote, or recurring template, proceed from the initial job / quote / recurring template setup page to the cost centre or Cost Centre List. The job, quote, or recurring template is only created as a record with an ID in Simpro Premium when you click Save after clicking Next. If you click Cancel, no record is saved. |
| Continue |
Save your data and proceed to the Cost Centre List. If you have enabled single cost centre service jobs / quotes in System |
| Unlock | Unlock projects such as purchase orders or invoices to update details and settings. |
US only: If you use Simpro Premium in the United States, the term 'vendor' is used instead of 'supplier'.
 Navigate between open projects
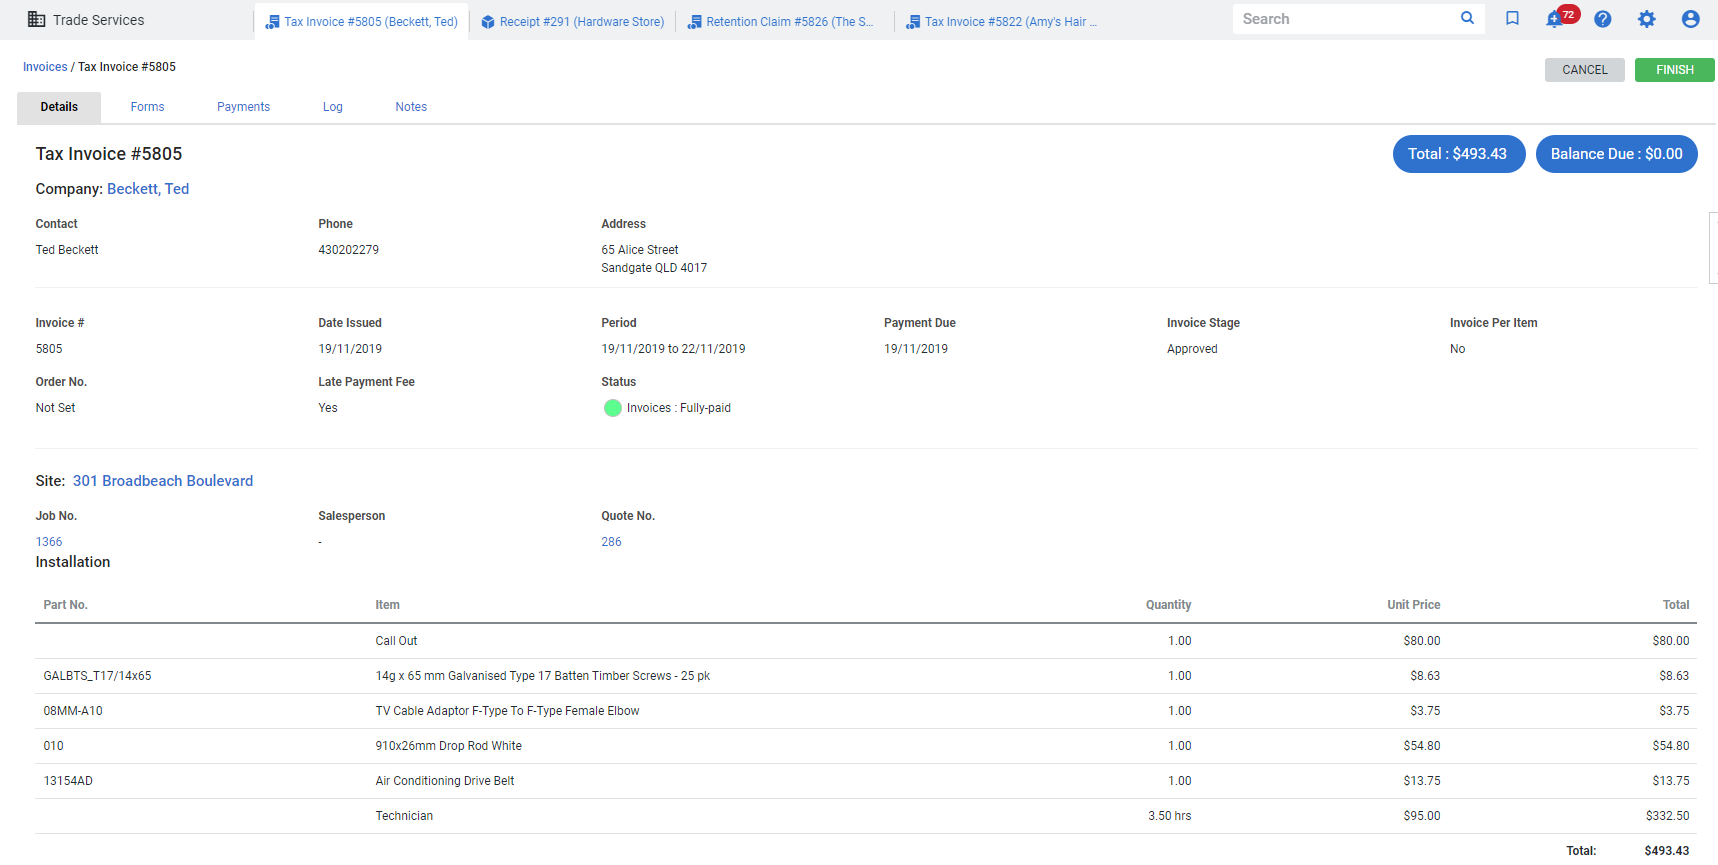
When you open or create a project, the Open Work tab appears at the top of your screen, listing your recently opened quotes, jobs or leads. If you continue to open additional work, they also appear on this tab.
Learn more in How to Work on Multiple Projects.
Similarly, you can open multiple invoices simultaneously to save time and for easy navigation in Simpro Premium.
 Scroll in Simpro Premium
In addition to your browser scrolling options, you can also use the Simpro Premium scrolling options on the right side of the screen to quickly move up and down.
Clicking the down arrow scrolls to the bottom of the page.
Clicking the middle up arrow scrolls up to just under the main menu and global search bar.
Clicking the top up arrow scrolls up to the very top of the page.
 Autosave in Simpro Premium
For jobs and quotes, when Autosave is enabled, your changes are automatically saved in Simpro Premium a few minutes after you take an action that registers the session, or inactivity from the user. By default, this is enabled on all jobs and quotes that are saved once. When Autosave is enabled, you cannot Cancel your changes.
To disable Autosave on a quote or job, toggle off the Autosave button. To ensure that Autosave does not cause errors, do not use multiple web browser tabs or windows at once when managing projects in Simpro Premium.
To disable Autosave for all quotes and jobs, go to System Setup > Defaults > System, and toggle Off Autosave Default.
The time set for Autosave to trigger is currently approximately 5 minutes after last action or inactivity. This time may vary due to server communication times, connectivity and other factors.
 Warning: Working in Simpro Premium in multiple tabs or windows
Simpro Premium employs a variety of security measures to protect your data. Because of these measures, when you work in Simpro Premium in multiple browser tabs or windows at once, for example, to view the schedule in one tab and a job in the other, you may experience session time-outs.
Simpro Premium refreshes your session if it has timed out, but your most recent action is not completed, meaning you may need to re-enter or check any data you were updating.
Actions and data may be incorrectly saved when using multiple browser tabs or windows of Simpro Premium at the same time when Autosave is enabled. To ensure that Autosave does not cause errors, do not use multiple web browser tabs or windows at once when managing projects in Simpro Premium.
You can switch between up to five open projects, such as quotes, jobs, and purchase orders using the projects menu bar at the top of your screen. Learn more in How to Work on Multiple Projects.
 Learn more in the Learning Toolbox
For additional training, complete an interactive material in the Simpro's Learning Toolbox. Learn more in About Simpro's Learning Toolbox.


